Authentication & Verification
Classic 2FA / MFA
MFA for AD, LDAP, Databases
Wi-Fi Authentication
Electronic Visit Verification
Popular Integrations
Popular Integrations
Programmable hardware TOTP token in a card format that fits any authentication system
Classic hardware TOTP token with SHA-1 algorithm support
Programmable hardware TOTP token in a key fob format that fits any authentication system
Classic hardware TOTP token with SHA-256 algorithm support
Programmable hardware TOTP token in a card format that fits any authentication system
Classic hardware TOTP token with SHA-1 algorithm support
Programmable hardware TOTP token in a key fob format that fits any authentication system
Classic hardware TOTP token with SHA-256 algorithm support
A free 2FA authenticator app with cloud backup, easy token transfer to a new phone, PIN and biometric authentication protection
Free OTP delivery with chatbots in messaging apps
Delivery of one-time passwords via SMS messages
Free delivery of one-time passwords via email
Free one-time passwords delivery via push notifications
Get Started
Classic 2FA / MFA
API Documentation
Software Development Kits
Get Started
Classic 2FA / MFA
API Documentation
Software Development Kits
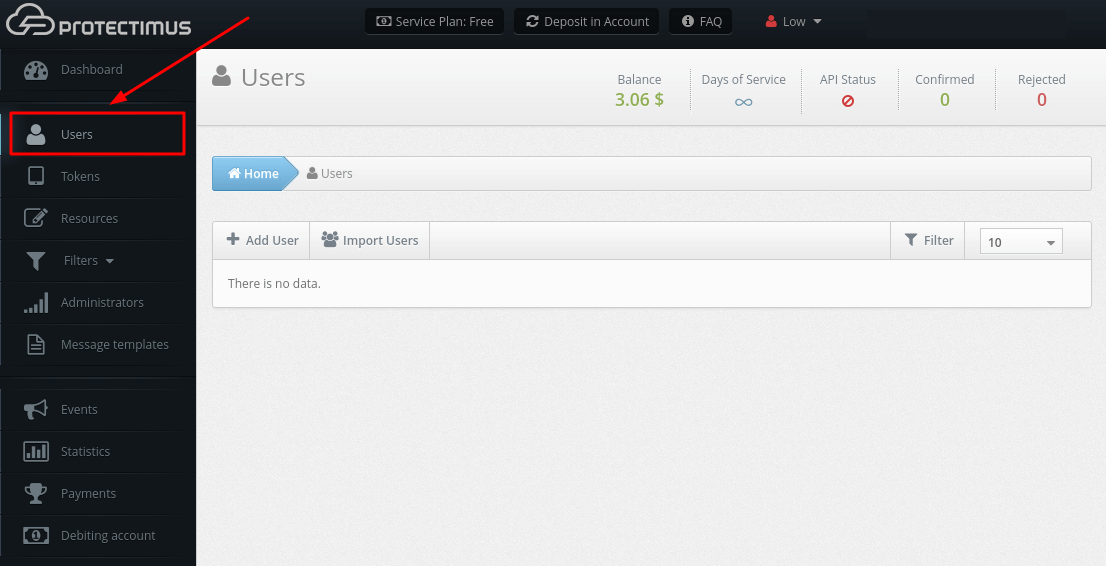
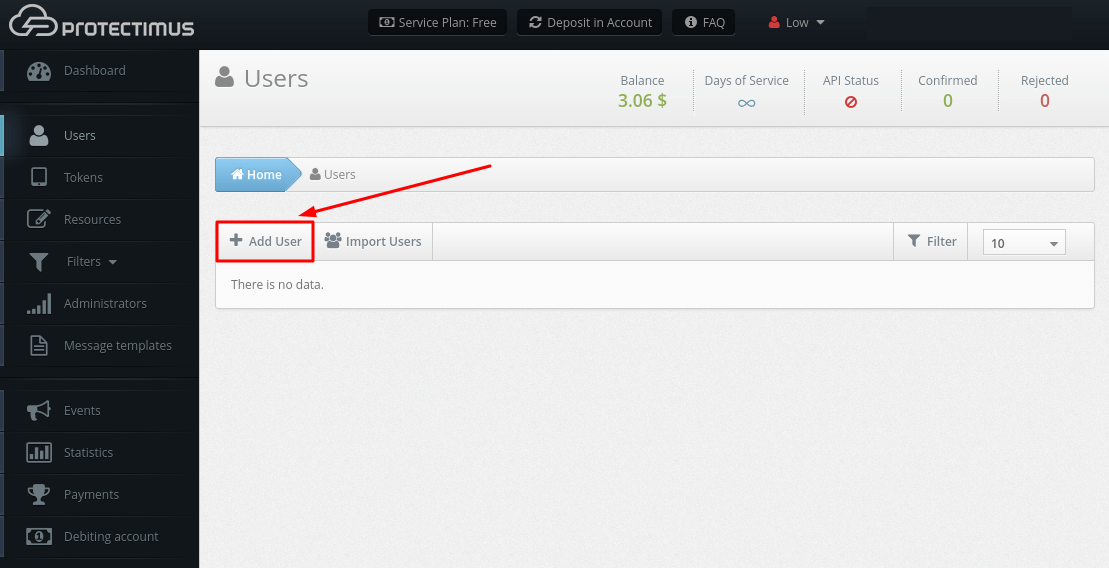
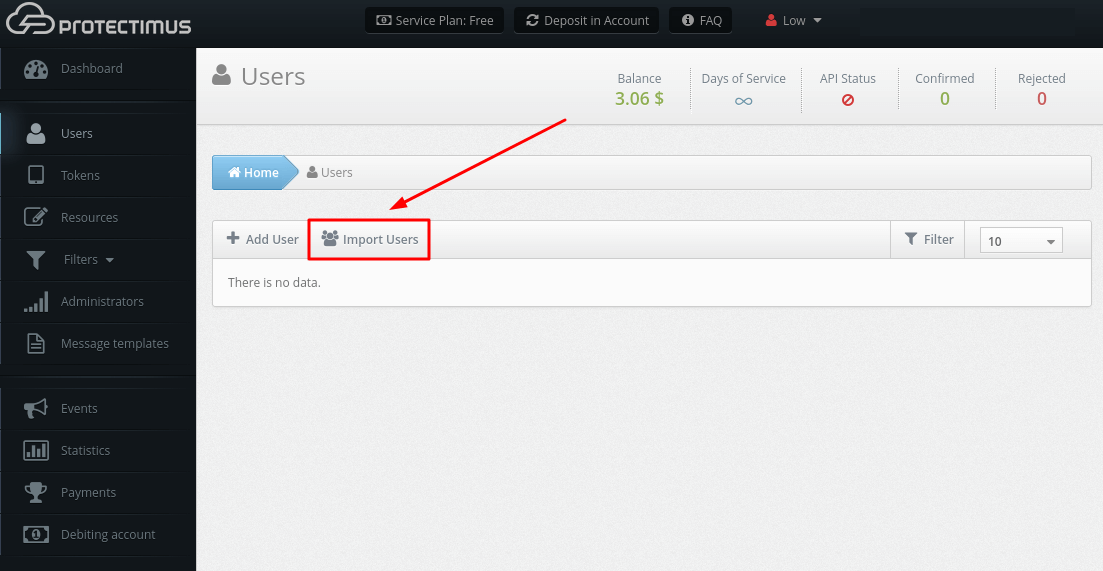
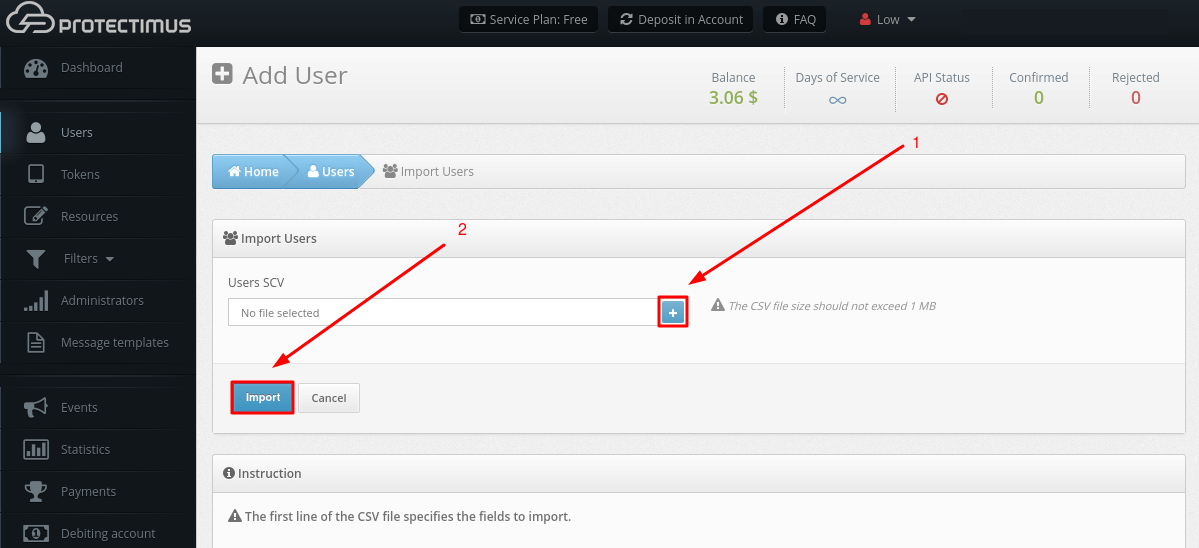
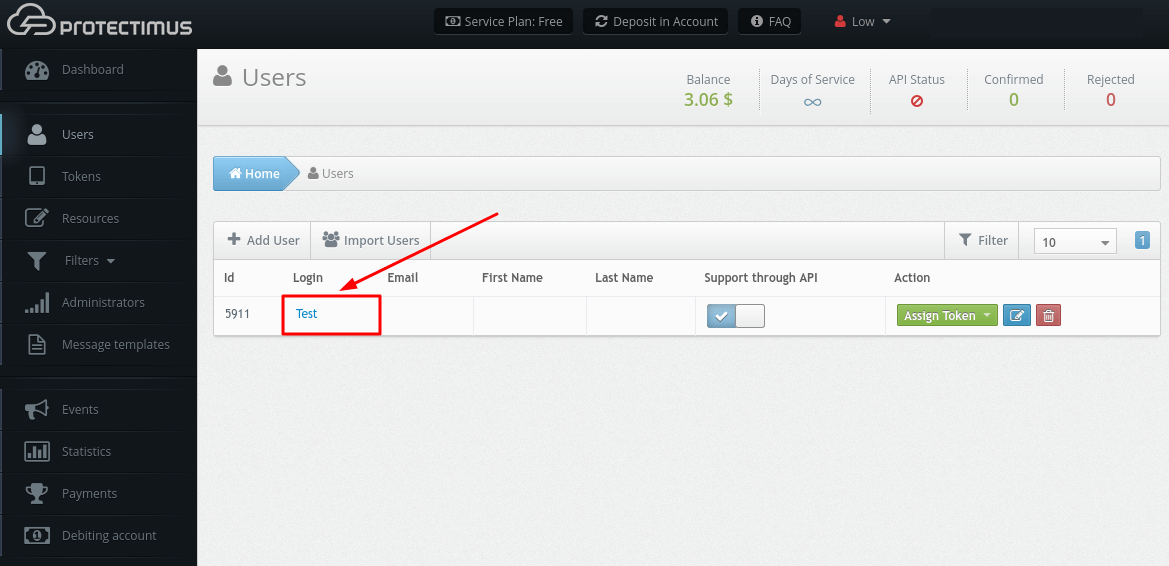
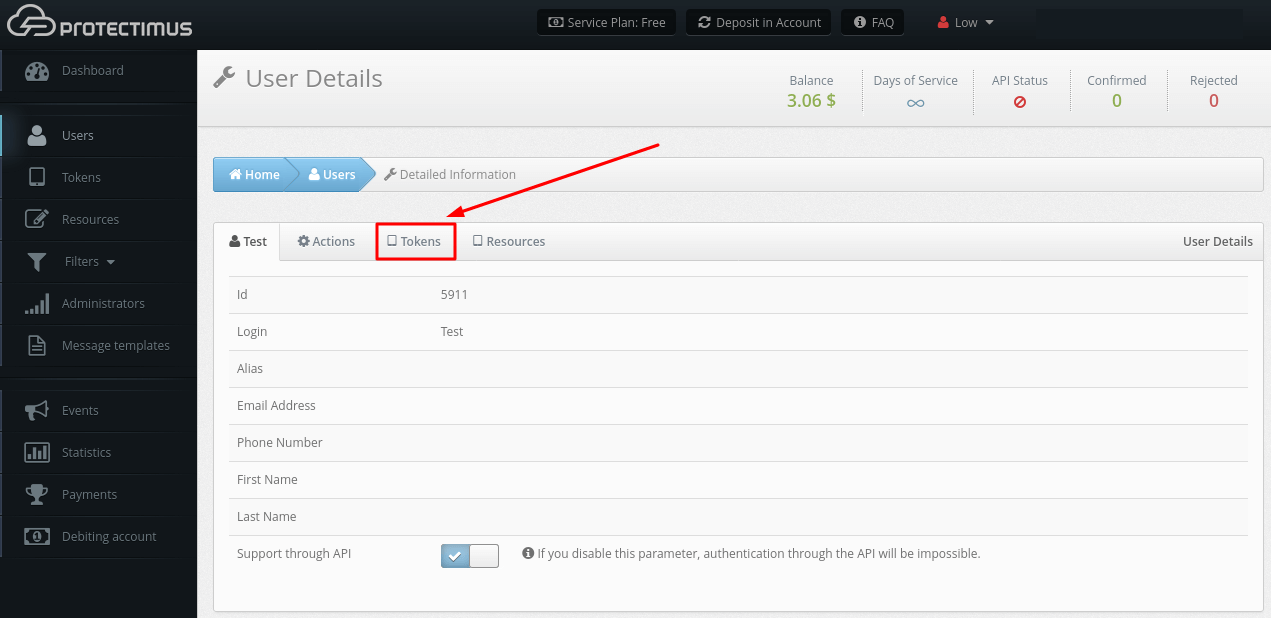
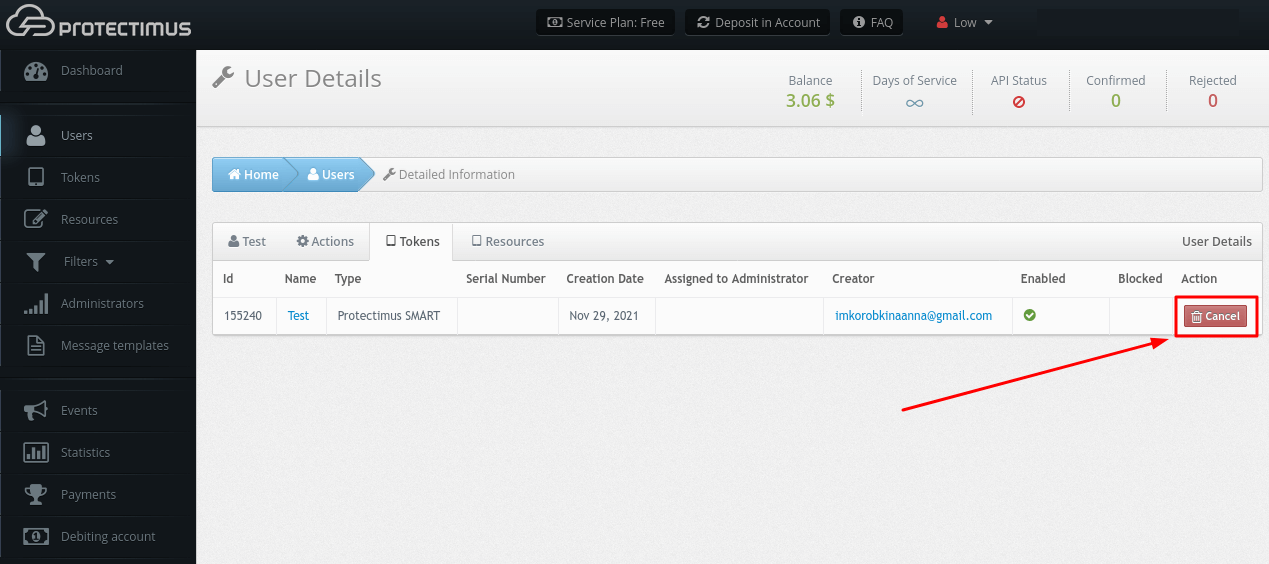
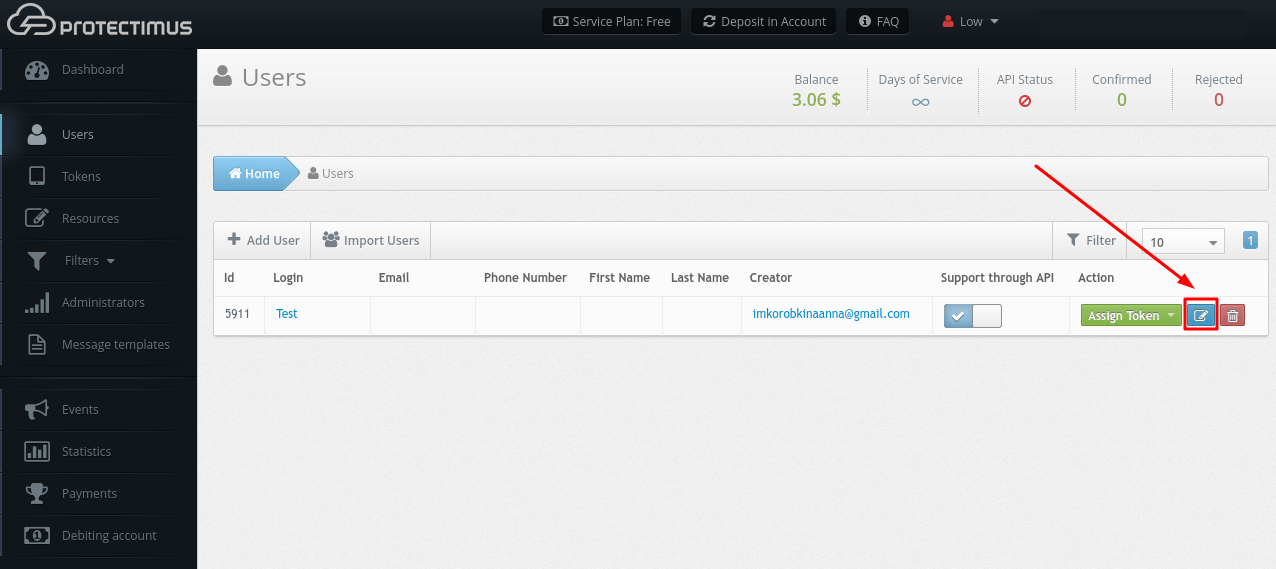
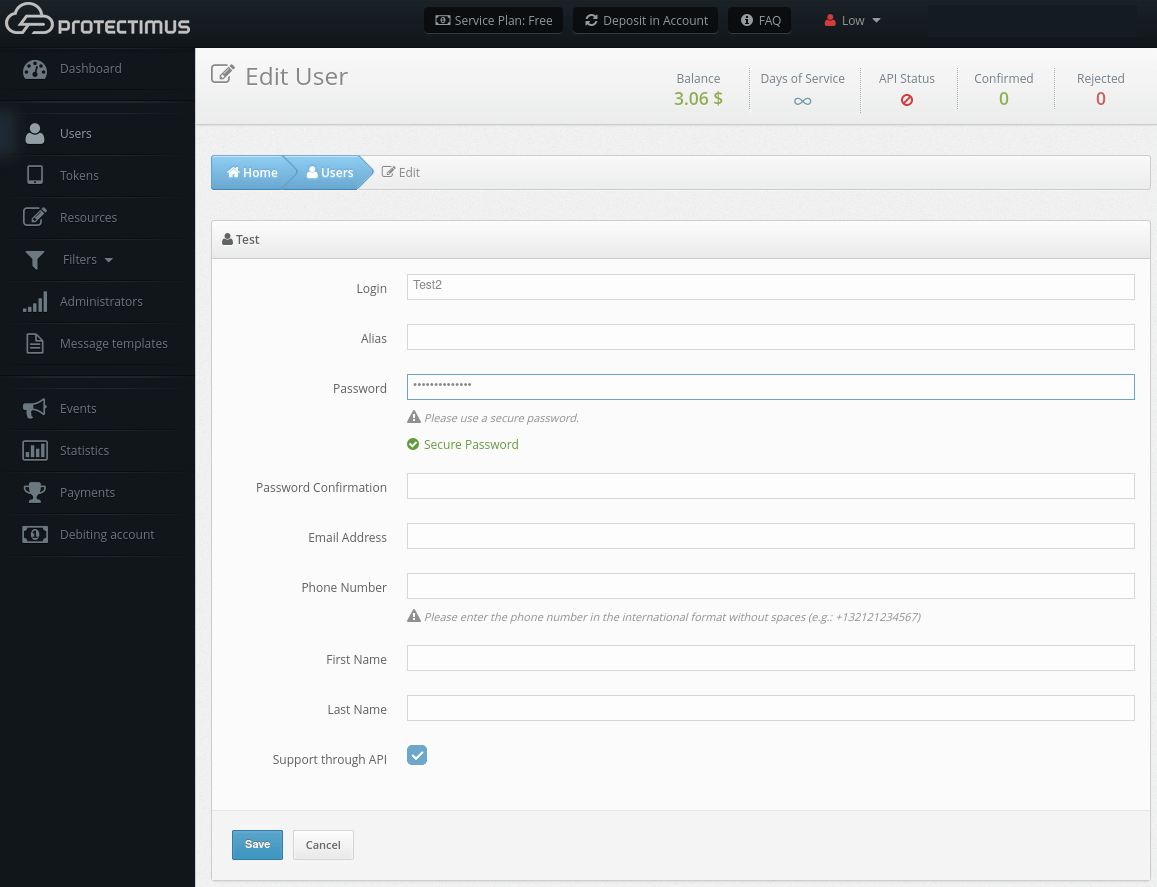
- In Protectimus Cloud Service, you can add the Users manually or import the Users using a CSV file.
- In Protectimus On-Premise Platform, you can add the Users manually, import the Users using a CSV file, or enable Users synchronization with your user directory. You’ll find instructions on enabling the synchronization of users in the On-Premise Platform section.
The number of Users that you may add depends on the Service Plan you select. If you need to add more Users, please select the required number of Users by customizing your Service Plan.
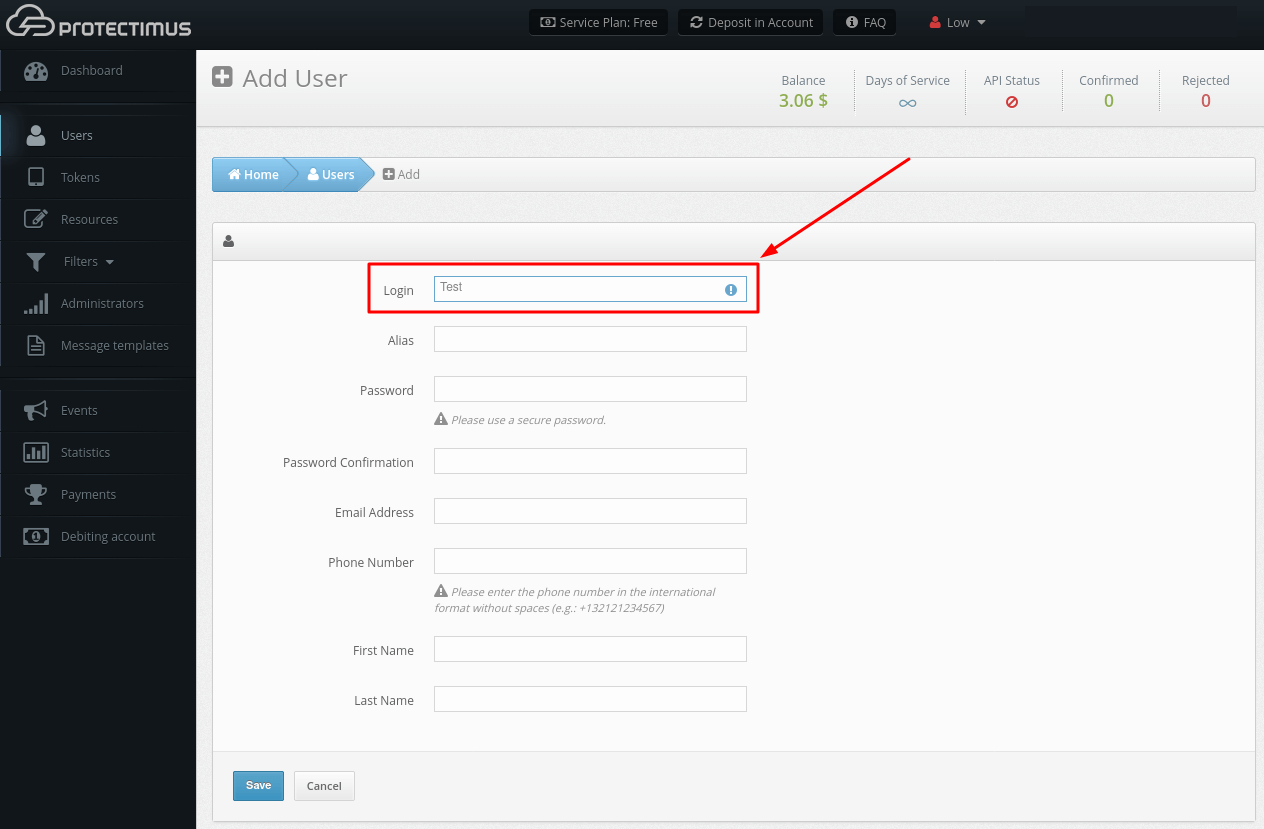
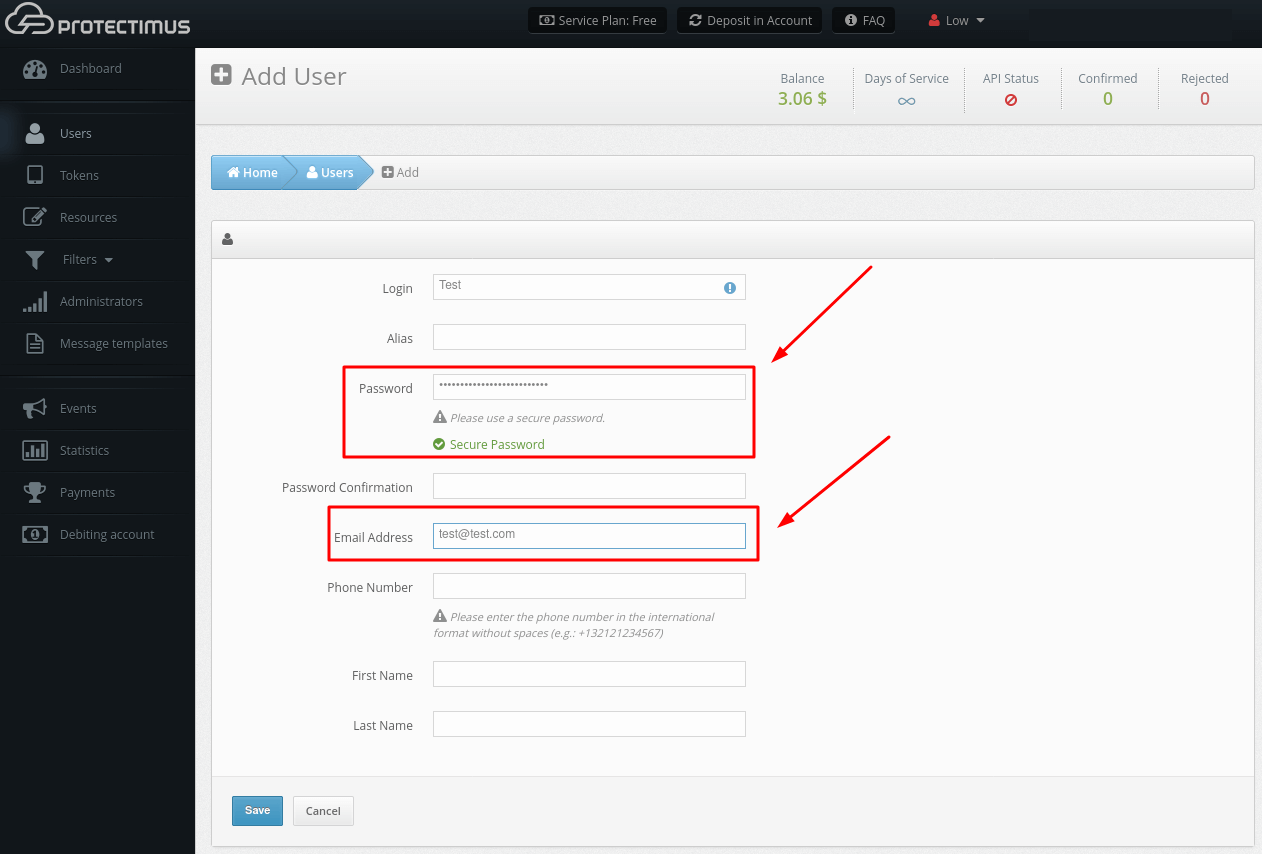
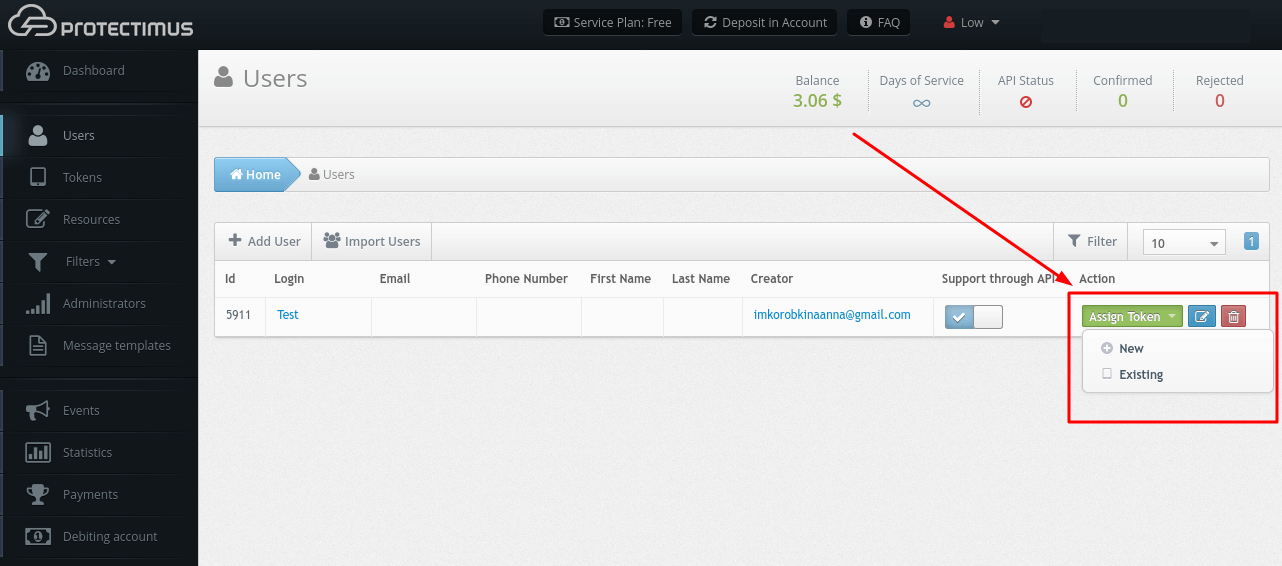
PLEASE NOTE! If you plan to activate the registration of Tokens through the Users’ Self-Service Portal, your Users in Protectimus system must additionally have a password or an email address on record. A verification code will be sent to the registered email address to allow your users to log into the Self-Service Portal. If a User has both a password and a registered email address, that User will use the password to log in. After a Token is issued for a User and assigned to a Resource, the User will also be asked for an OTP password from the Token when logging in to the Users’ Self-Service Portal.

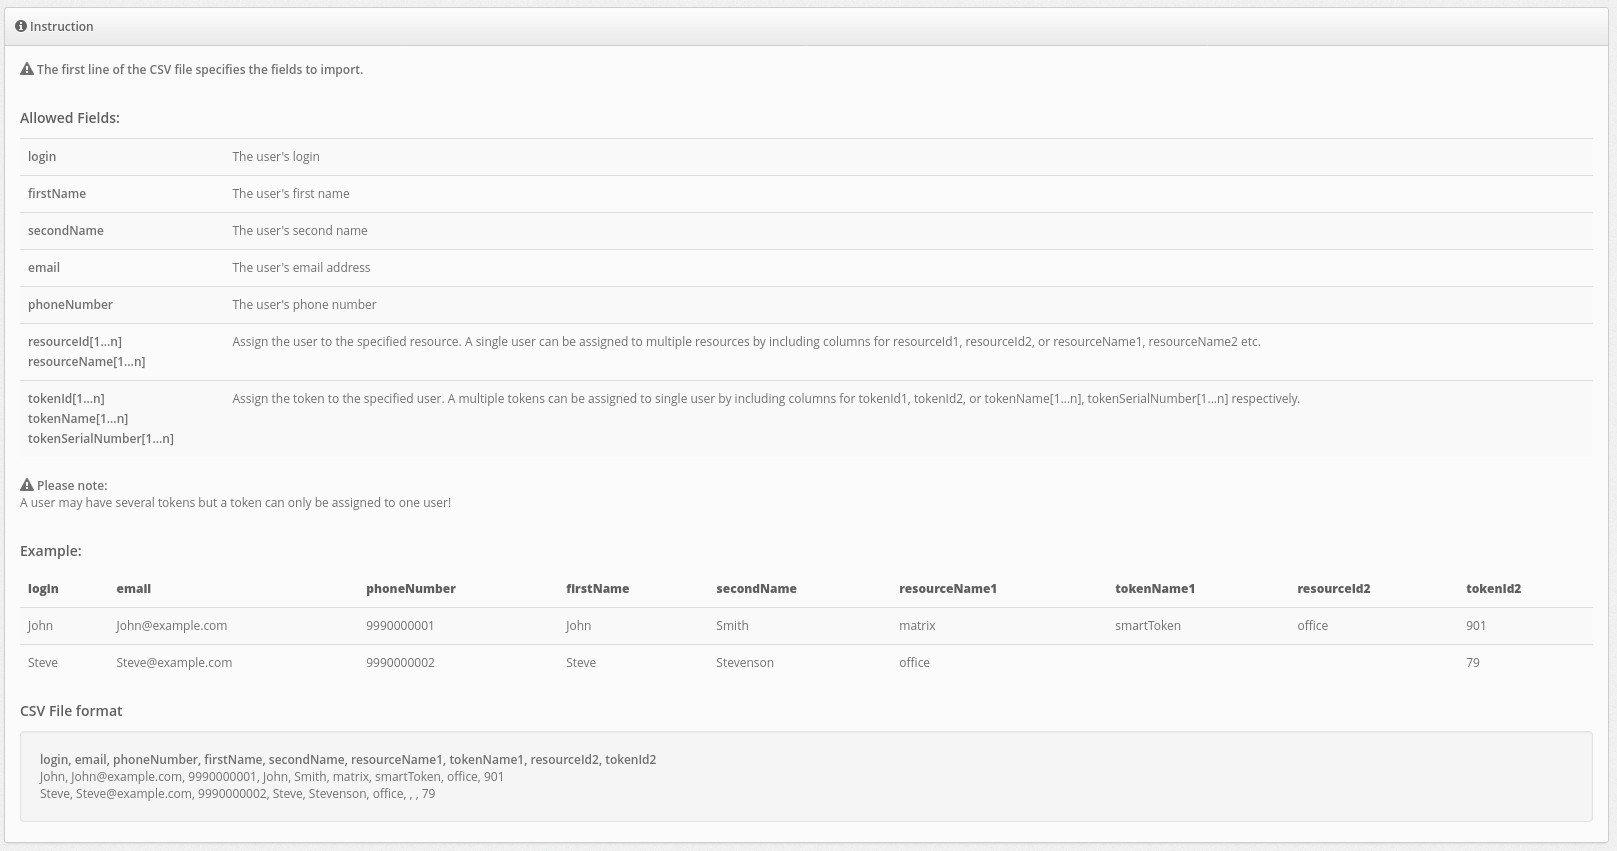
Example:
login, email, phoneNumber, firstName, secondName, resourceName1, tokenName1, resourceId2, tokenId2
John, John@example.com, 9990000001, John, Smith, matrix, smartToken, office, 901
Steve, Steve@example.com, 9990000002, Steve, Stevenson, office, , , 79




Protectimus Ltd
Carrick house, 49 Fitzwilliam Square,
Dublin D02 N578, Ireland
Ireland: +353 19 014 565
USA: +1 786 796 66 64
Protectimus Ltd
Carrick house, 49 Fitzwilliam Square,
Dublin D02 N578, Ireland
Ireland: +353 19 014 565
USA: +1 786 796 66 64


