
> How to Enable and Configure Bots for One-Time Password Delivery
How to Enable and Configure Bots for One-Time Password Delivery
Protectimus Bots are used for delivering one-time passwords (OTPs) and important notifications from the Protectimus Two-Factor Authentication System to end users. These chatbots, named Protectimus Bot, are available on Facebook Messenger, Telegram, and Viber. The list of supported messaging applications is constantly growing and can be expanded upon request from our clients. OTP delivery through messaging apps addresses several key issues: it is much more secure than SMS authentication, completely free, and easy to use.
1. Login to Your Protectimus Account and Add Resource
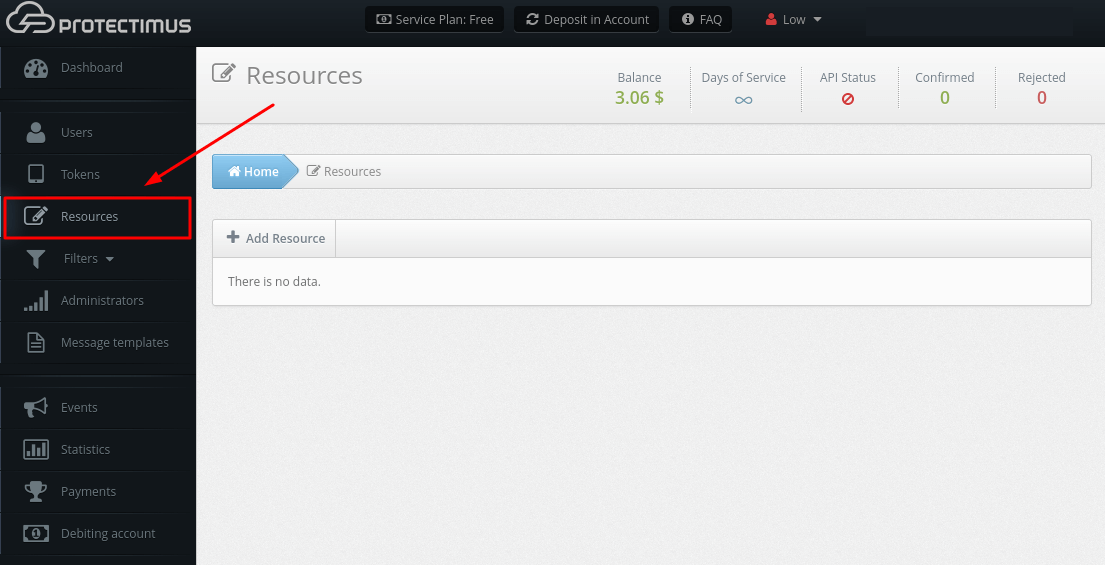
- Login to your account in Protectimus SAAS Service or On-Premise Platform and go to the Resources page.
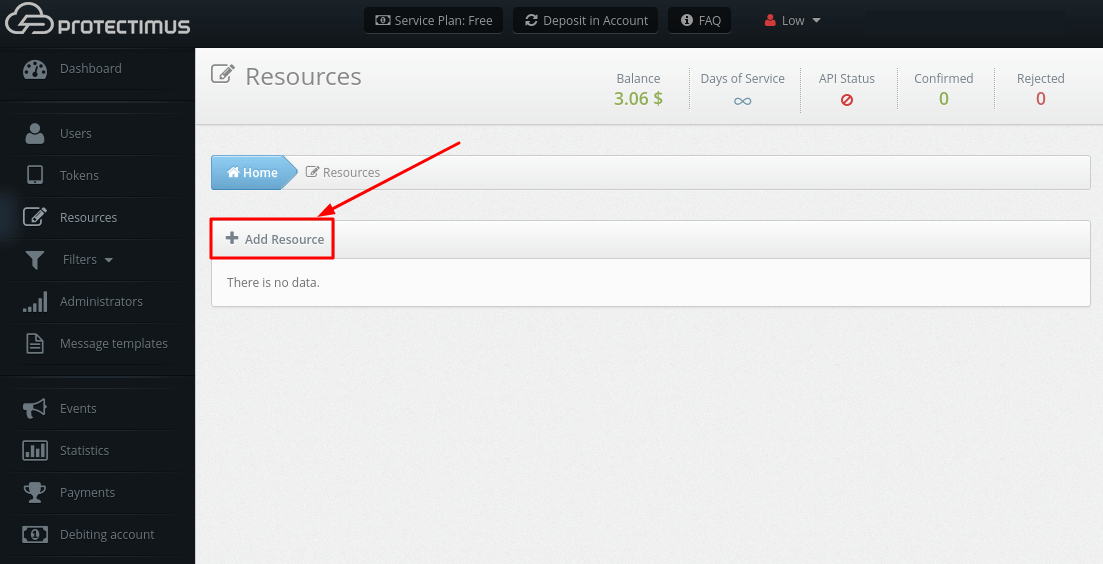
- Click the Add Resource button.
- This will take you to the Resource adding page, where you’ll need to specify just a Resource Name and click Save, the remaining parameters are optional.
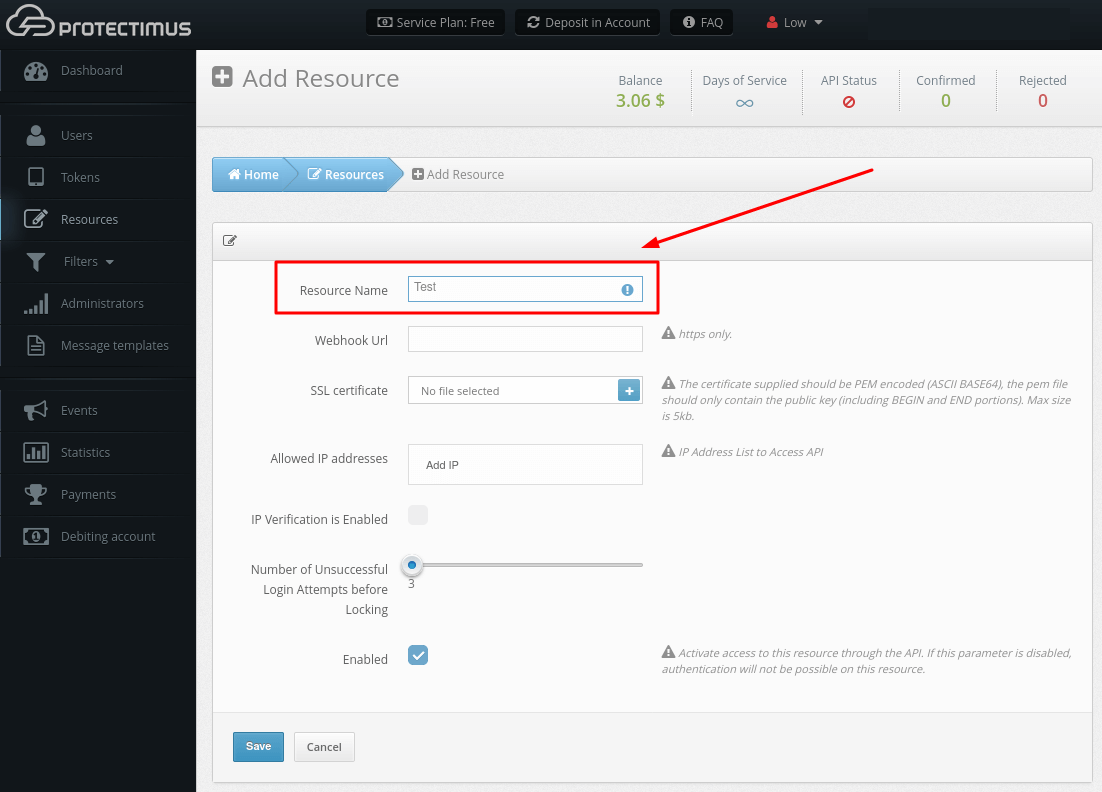
- Webhook URL. Whenever there is an update for the Resources, we will send a POST request containing a JSON update to the specified webhook URL. In case of an unsuccessful request, we will give up only after a reasonable amount of attempts. Currently, webhook is used to receive the result of INTERACTIVE authentications. INTERACTIVE authentications are supported by Protectimus Bot token.
- SSL certificate. The public key certificate certifies the belonging of the public key to the indicated webhook. The certificate supplied should be PEM encoded (ASCII BASE64), The pem file must contain only the public key beginning with “—–BEGIN CERTIFICATE—– ” and end with “—– END CERTIFICATE —–“
- Allowed IP Addresses. Allows you to restrict access to the system only from trusted IP addresses.
- IP Verification is Enabled. Enables the restriction of access to the system only from trusted IP addresses.
- Number of Unsuccessful Login Attempts before Locking. The value of this parameter should be specified between 3 and 10. If a User or Token is not authenticated successfully, the number of failed authentication attempts will be increased for this User. When the threshold number of failed attempts for the specified Resource is exceeded, this User will be locked. A User can be unlocked through the web interface or the API (the edit user method). If a User is authenticated successfully, the number of failed authentication attempts will be set at zero, if the threshold number of failed attempts for the specified resource is not exceeded, and if this User has not yet been locked.
- Enabled. Allows you to enable or disable the Resource.
2. Activate Users’ Self-Service Portal
You can find the full detailed guide on enabling Protectimus Self-Service Portal and testing it here:https://www.protectimus.com/guides/users-self-service-portal/.
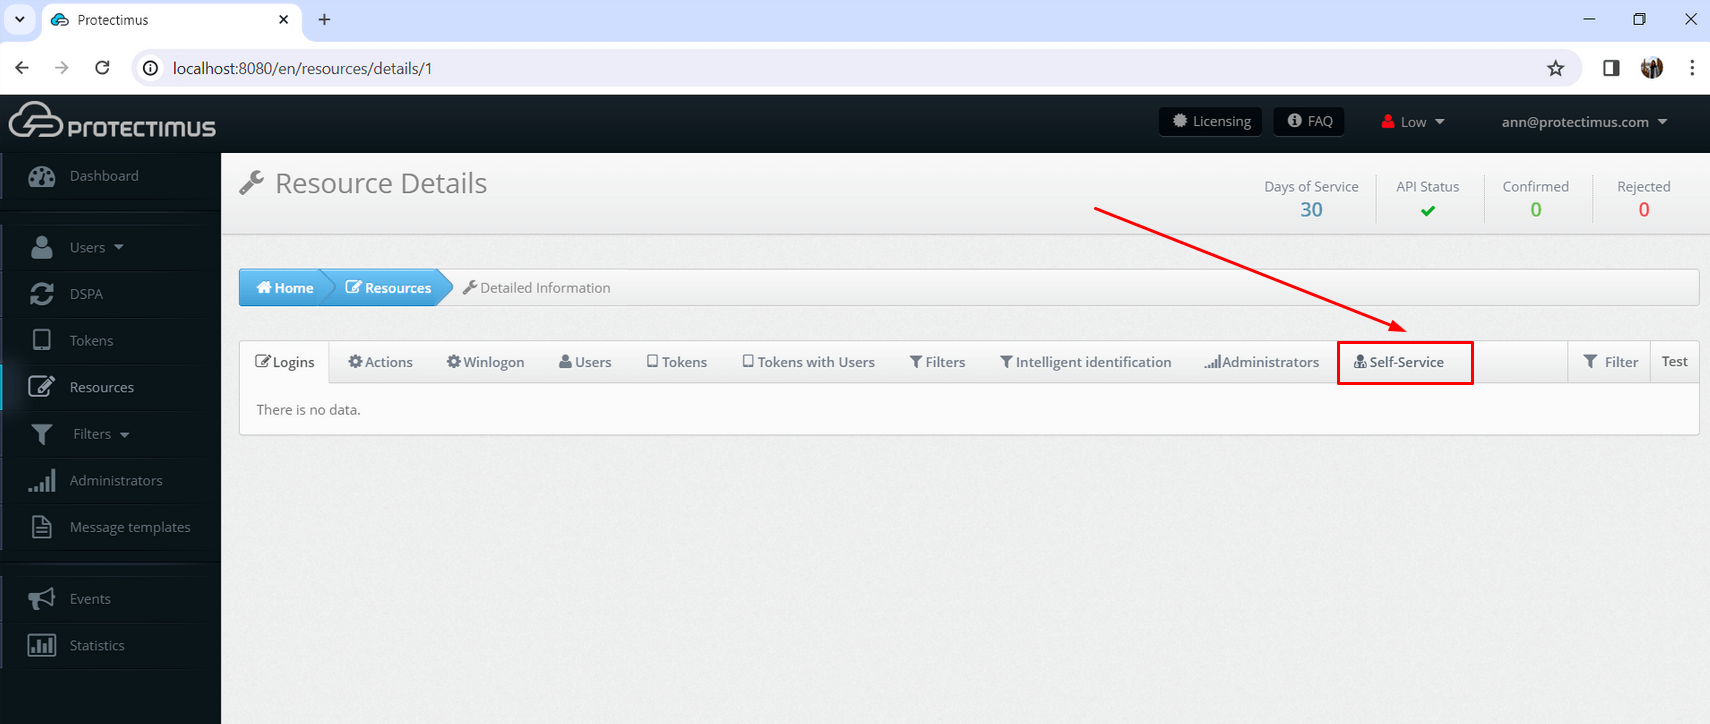
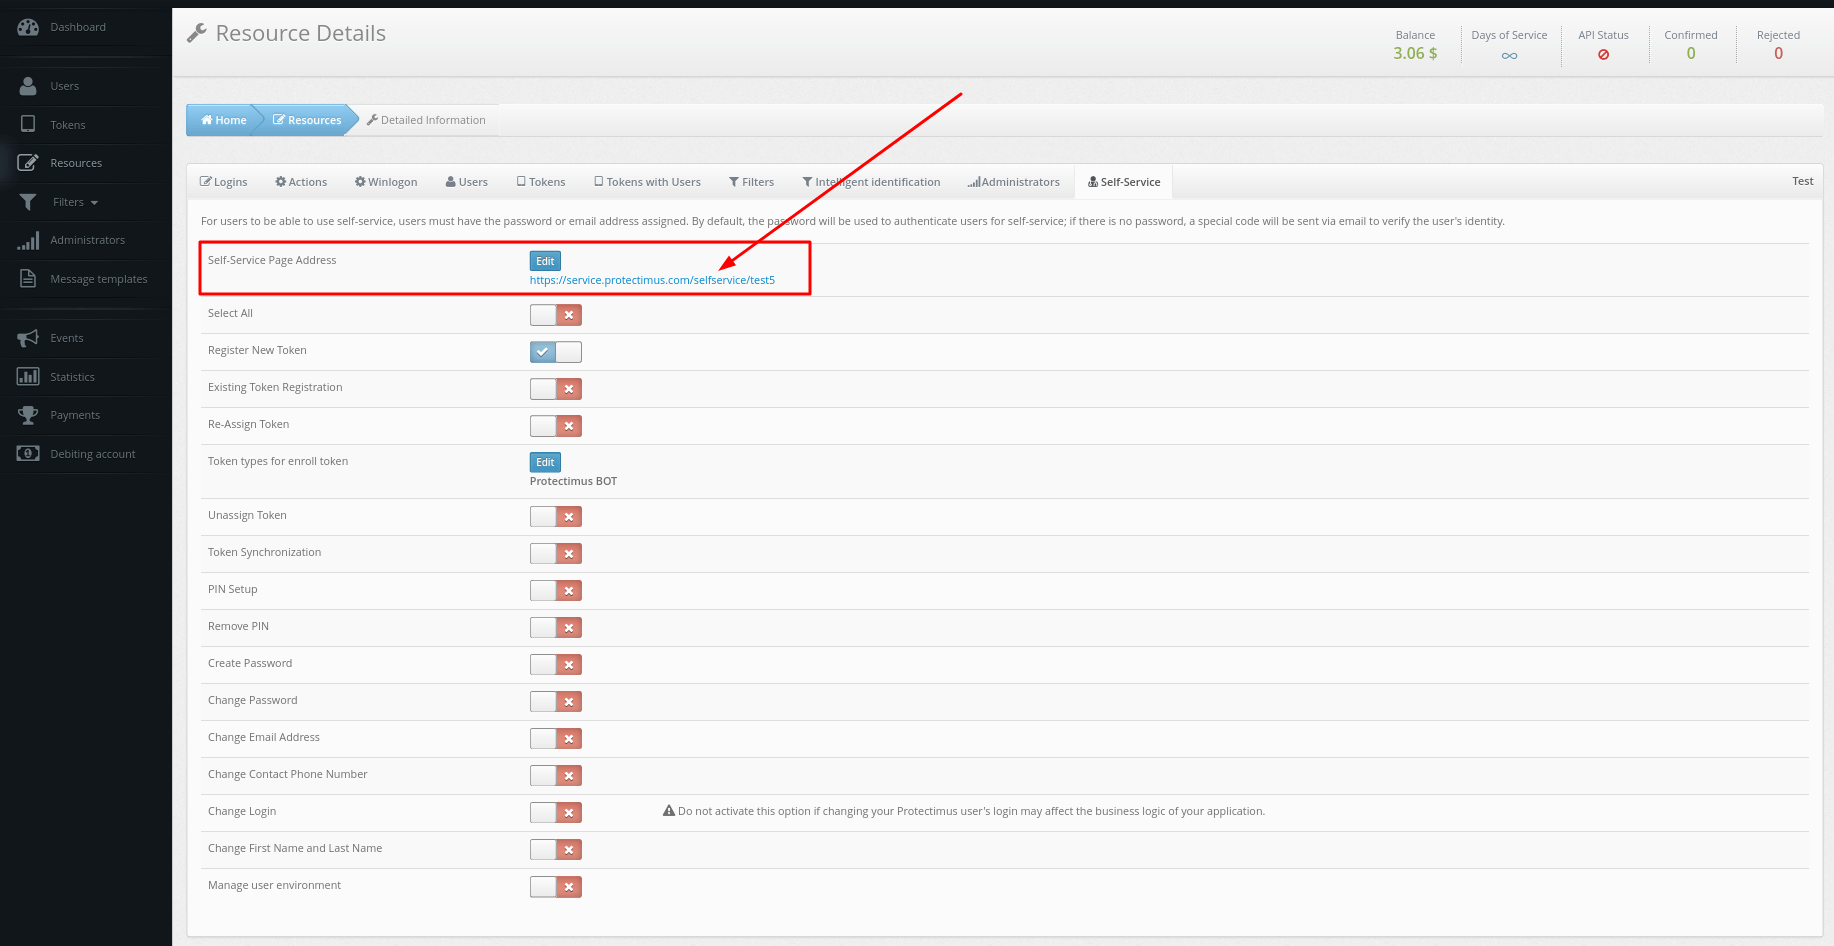
- Go to the Resources tab, click on the resource name, and navigate to the Self-Service tab.
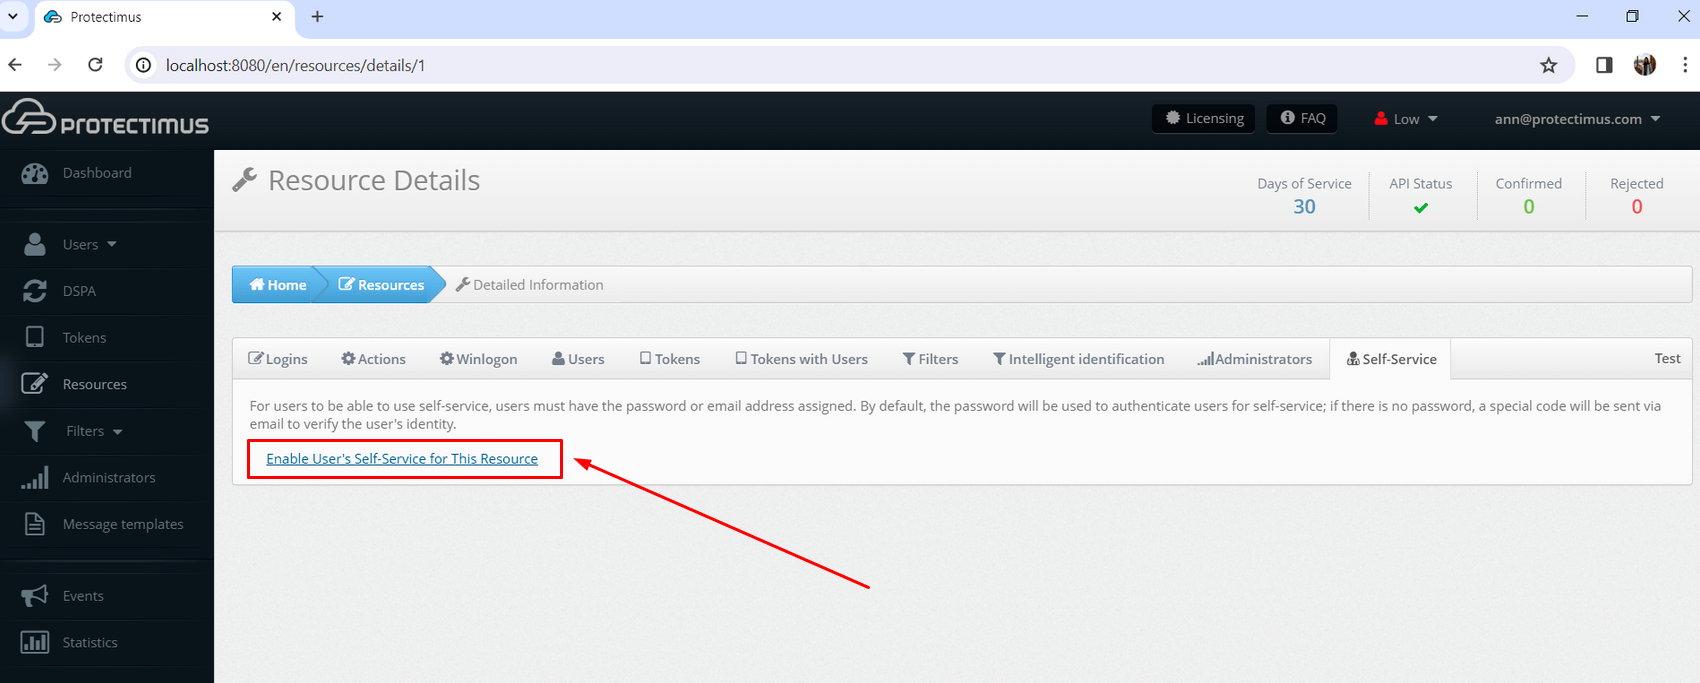
- If you haven’t enabled the Self-Service Portal for your users yet, click on Enable User’s Self-Service for your resource.
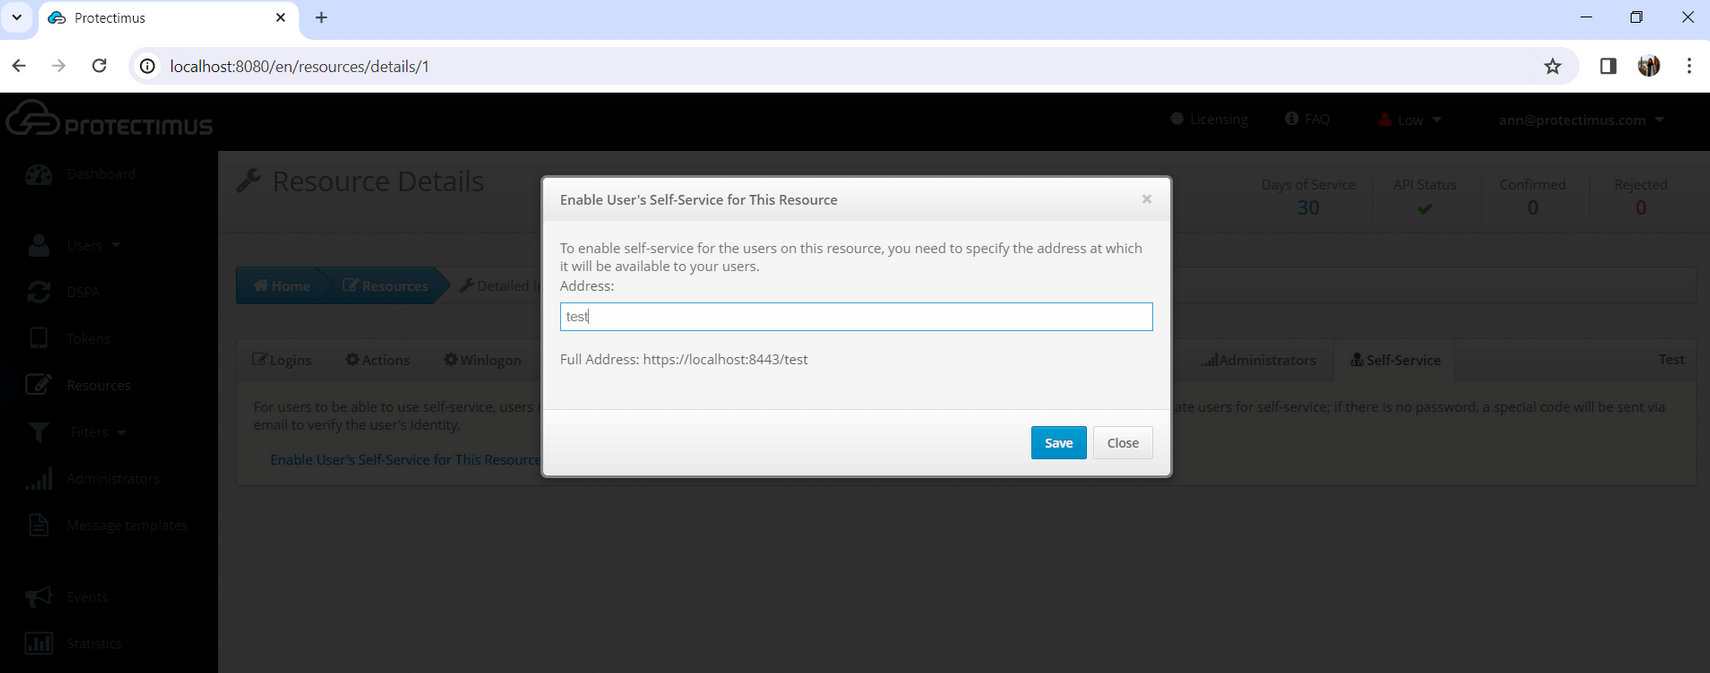
- Specify the address at which your users will access the Self-Service Portal.
Enter just the final portion of the address, the portal alias, in the field. The full address to the portal will be the authentication server address plus the alias you specified. For example, if you’re using the Protectimus SaaS service, and you specify “portal” as the alias, the link you give to your users will look like this: https://service.protectimus.com/selfservice/portal
If you are running your own instance of the authentication platform on your own premises, the “service.protectimus.com” portion of the address will be replaced with the address to your platform instance. For example: https://localhost:8080/selfservice/portal.
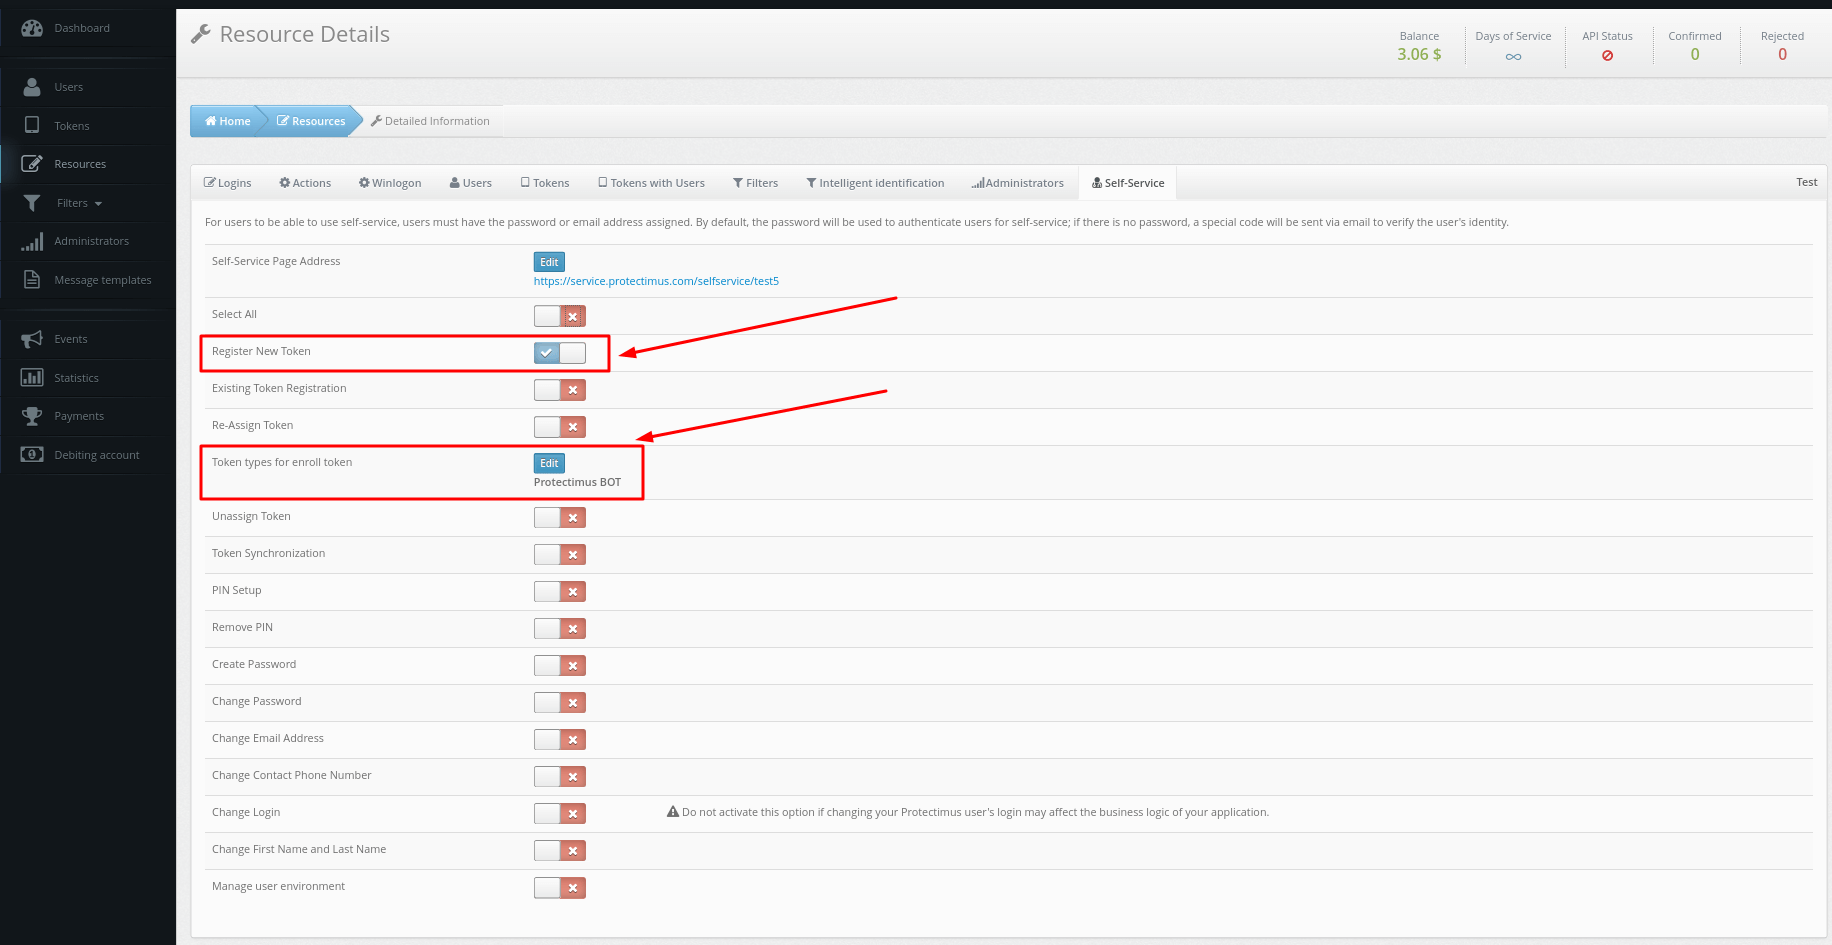
- Set up the list of actions available to your users in the self-service portal.
You’ll see the list of actions available to your users, as shown in the image below. By default, all actions are disabled.
Enable the action Register New Token. Then you’ll need to specify the Token types for enroll token, if your users will use only Protectimus Bots, leave only Protectimus Bot.
3. Add Users and Specify Their Passwords or Emails
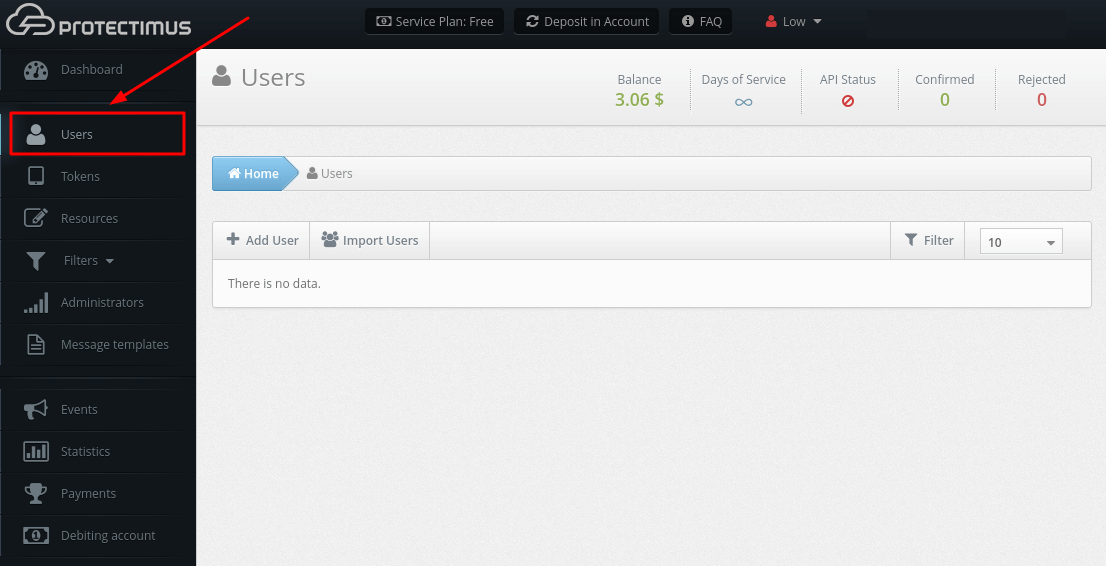
- Go to the Users page.
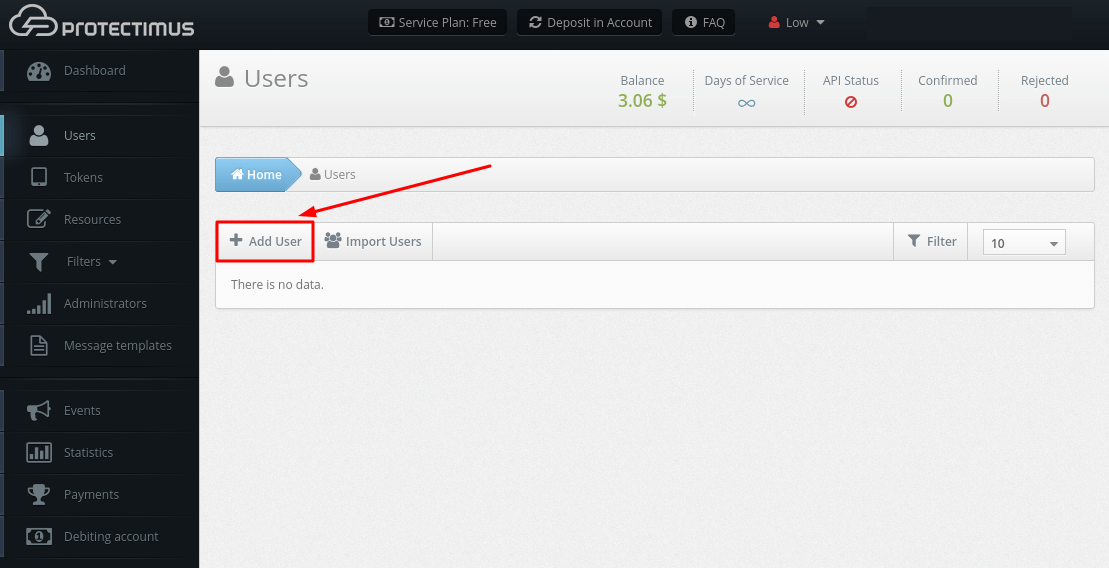
- Click the Add User button.
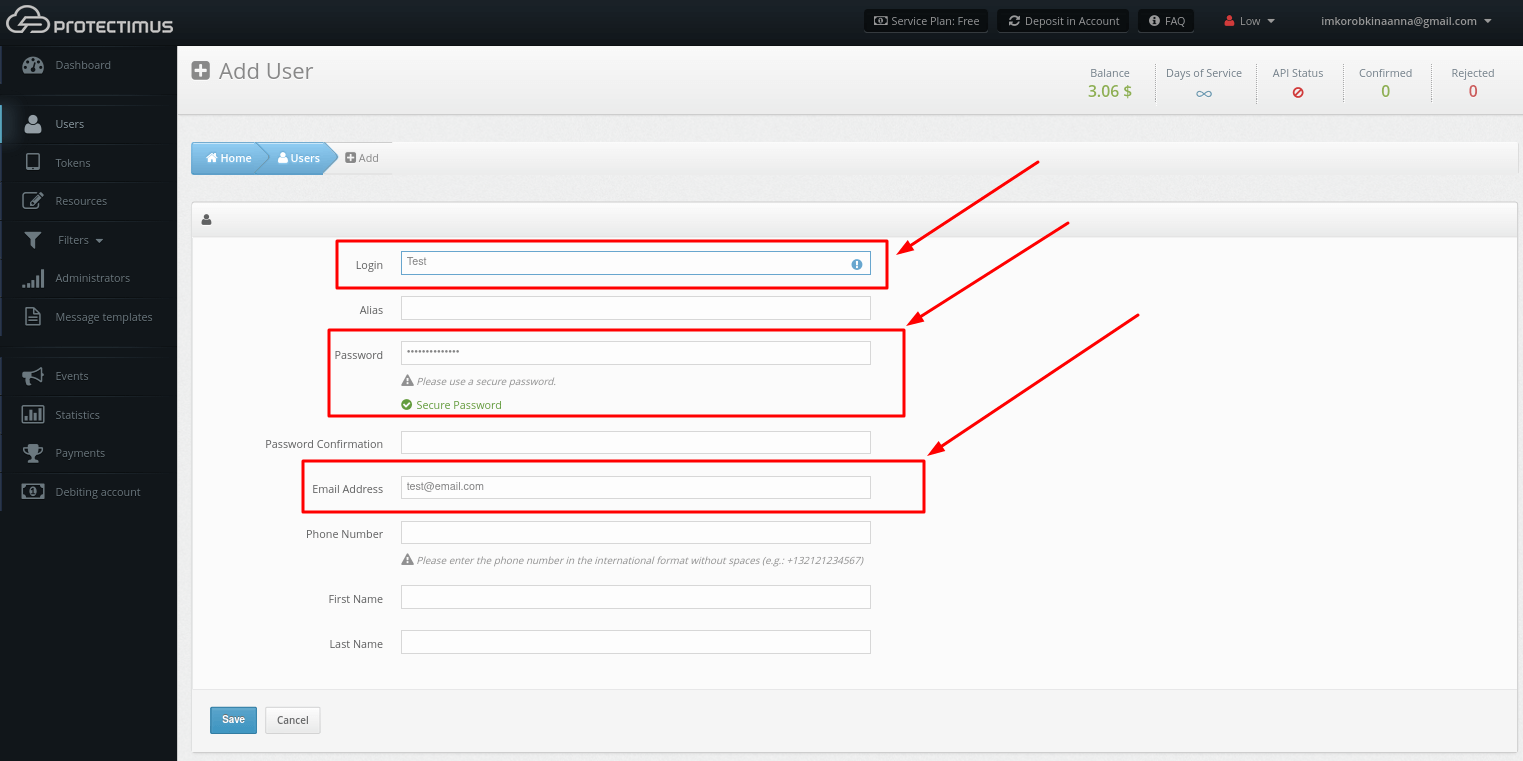
- Set the user Login. The User Login must contain only Latin letters, numbers, and symbols _-@∽!#%+.$. Spaces and any other symbols are not allowed.
Also set a password or an email address. A verification code will be sent to the registered email address to allow your users to log into the Self-Service Portal. If a User has both a password and a registered email address, that User will use the password to log in. After a Token is issued for a User and assigned to a Resource, the User will also be asked for an OTP password from the Token when logging in to the Users’ Self-Service Portal.
PLEASE NOTE! You can import users. Detailed instructions on importing users are available here – https://www.protectimus.com/guides/users/#2-how-to-import-users. Make sure that your Users have specified passwords or email addresses.
4. Assign Users to the Resource
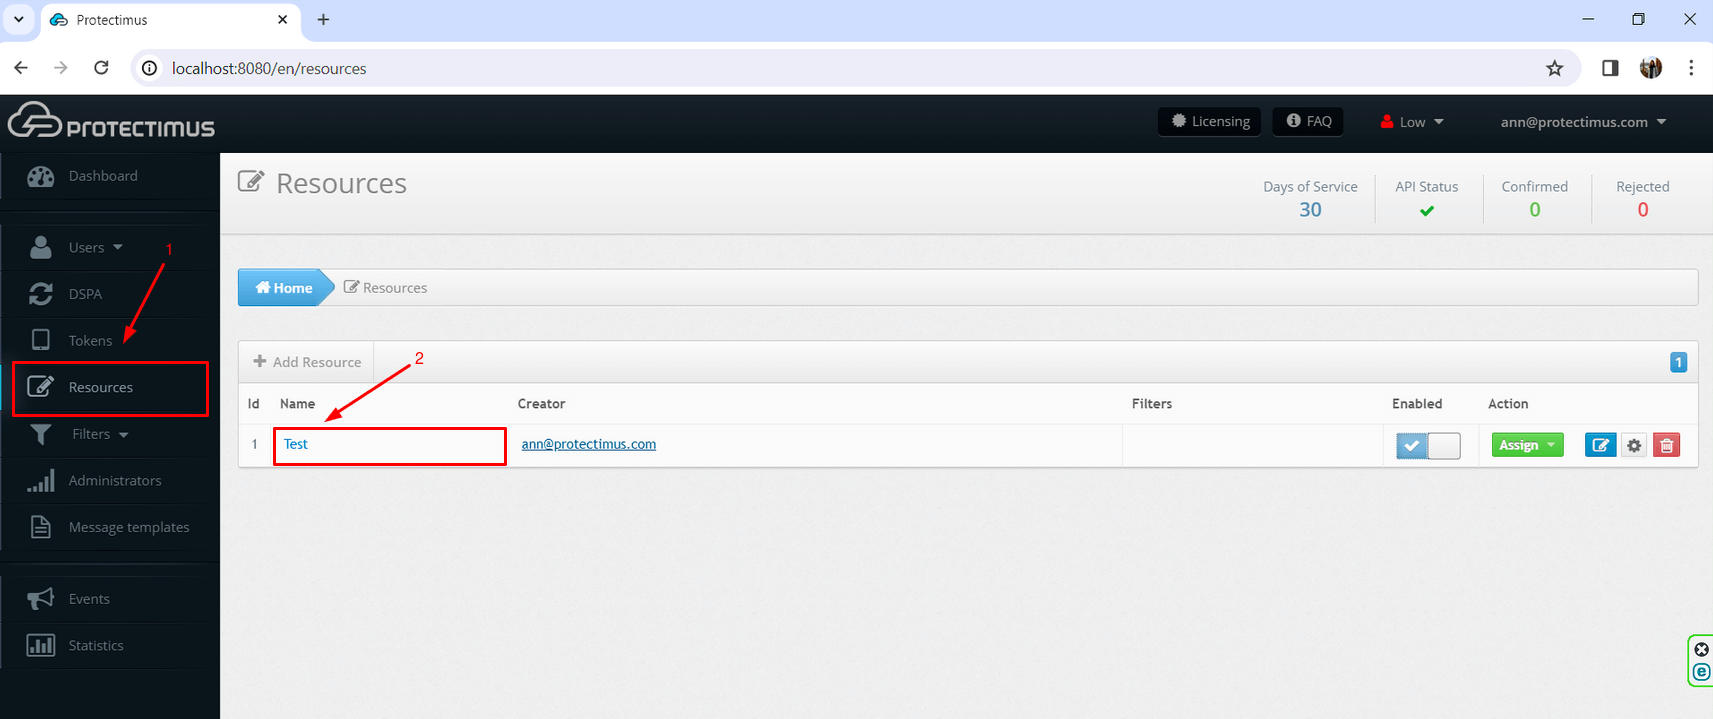
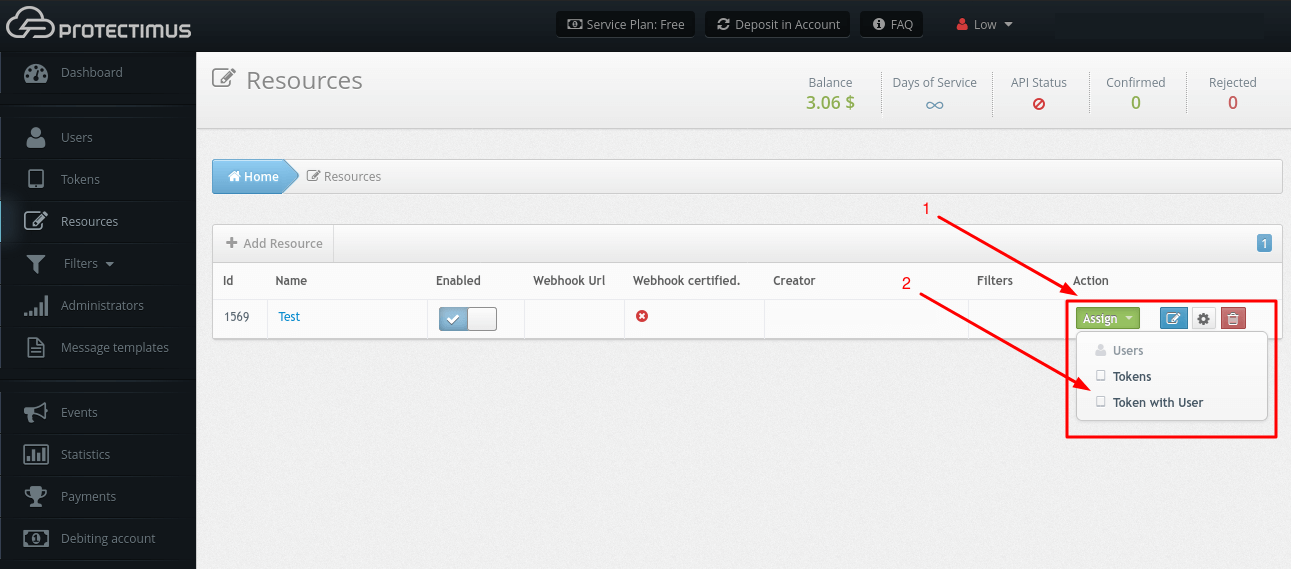
- Go to the Resources page.
- Find the Resource you need, click Assign, then Users. And assign all necessary Users to this Resource. Users must be assigned to an appropriate Resource in order to have access to the Self-Service Portal.
5. Provide Your Users With Instructions on How to Access the Protectimus Self-Service Portal
- Give your users a URL to access the Self-Service Portal.
- Inform your users what usernames and passwords / emails should they use to access the Users Self-Service Portal.
6. Provide Your Users With Instructions on How to Add the Protectimus Bot
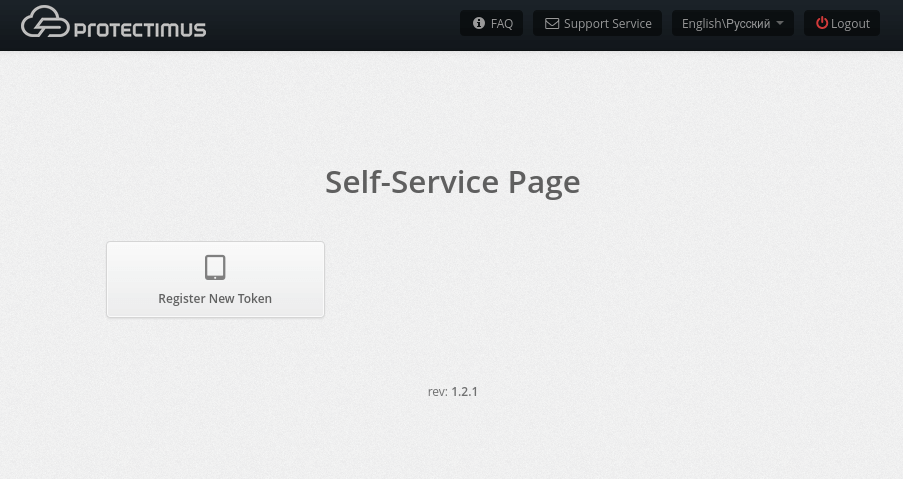
- Log into the Protectimus Self-Service Portal using your username and password or email (contact your administrator for more info if you have any questions).
- Choose Register New Token.
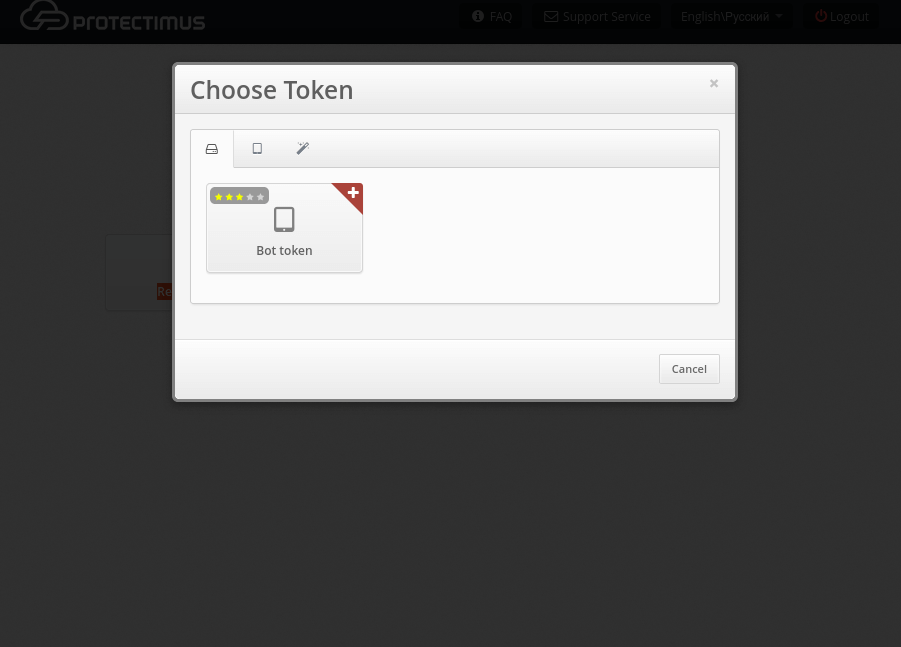
- Then choose Bot Token.
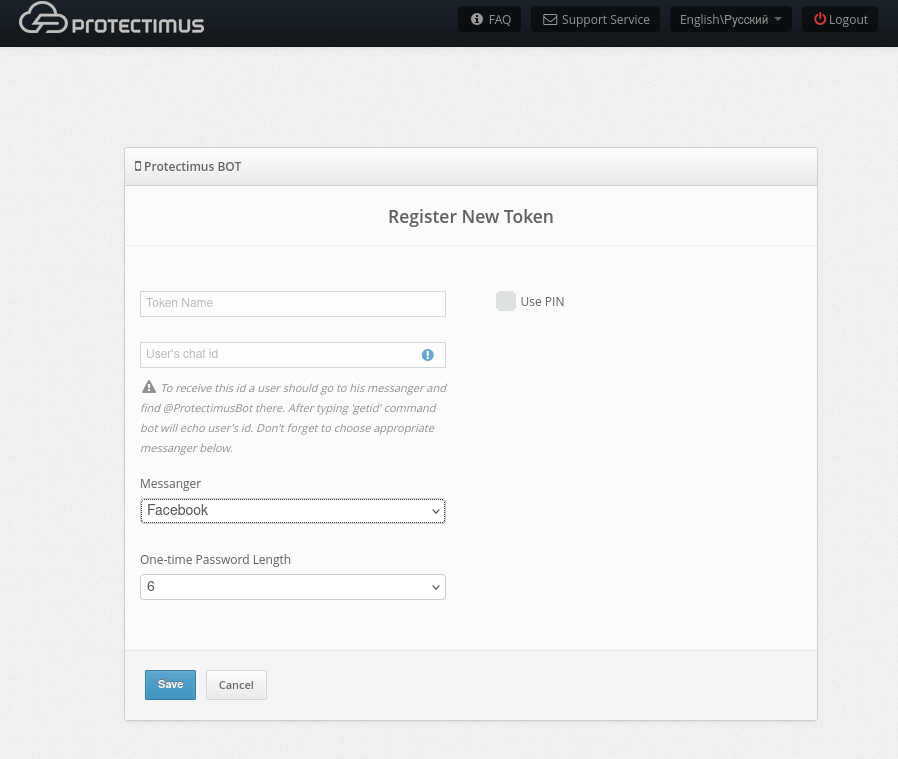
- Enter the token name (any name you want).
- Open the messaging app you prefer: Facebook Messenger, Telegram, or Viber.
- Find the ProtectimusBot chatbot using the built-in search (built-in search works only for Telegram) or use the link:
Please note: To find the ProtectimusBot chatbot on Facebook Messenger and Viber, users will need to use a direct link, as the built-in search feature doesn’t work for these messaging apps.
- For Facebook Messenger: http://m.me/ProtectimusBot
- For Telegram: https://t.me/protectimusbot
- For Viber: viber://pa?chatURI=Protectimus
- Send the command /getid to the ProtectimusBot to receive a unique chat ID.
- Input the received chat ID into the field User’s Chat ID.
- Indicate which messaging app you’ve chosen in the field Messenger.
- Don’t change anything in the field One-time Password Length.
- Click Save.
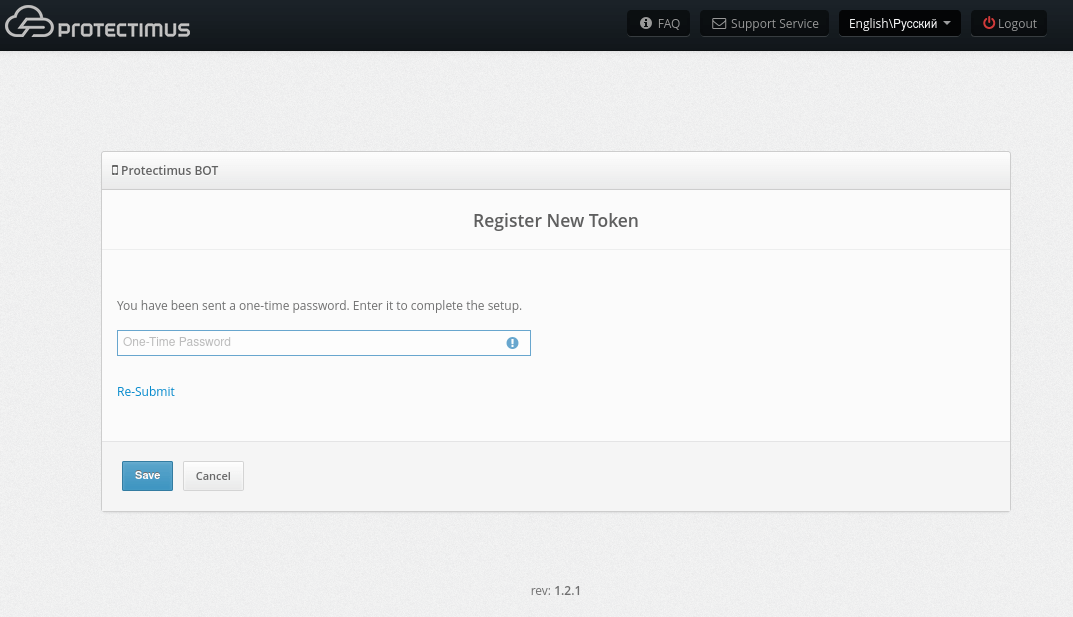
- After that, you will receive the one-time password in the messaging app you’ve chosen. Enter it into the field One-time Password and click Save.
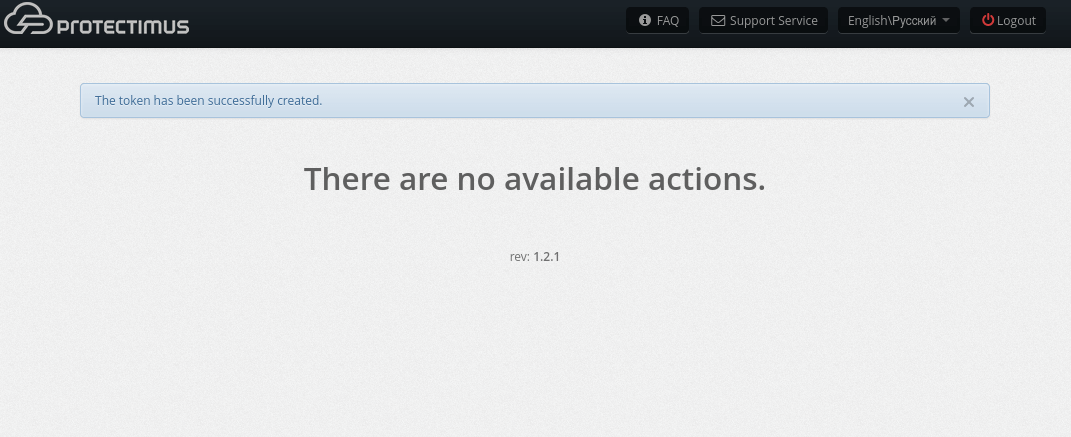
- If everything was done correctly, you will see the message: The token has been successfully created.
Last updated on 2025-03-13