
> ADFS 4.0: Comprehensive Two-Factor Authentication Setup
ADFS 4.0: Comprehensive Two-Factor Authentication Setup
ATTENTION! When you integrate Protectimus 2FA system with ADFS, Users in the Protectimus service or platform must have logins of the form [email protected]
1. Get Registered and Configure Basic Settings
- Register with the Protectimus Cloud Service and activate API or install the Protectimus On-Premise Platform.
- Add Resource.
- Add Users. NOTE! Users in Protectimus system must have logins of the form [email protected].
- Add Tokens or activate Users’ Self Service Portal.
- Assign Tokens to Users.
- Assign Tokens with Users to the Resource.
2. Install the Protectimus ADFS Сomponent
- Download the Protectimus ADFS installer here.
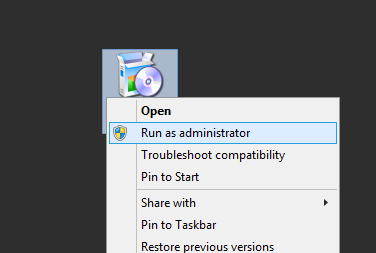
- Run the installer as administrator.
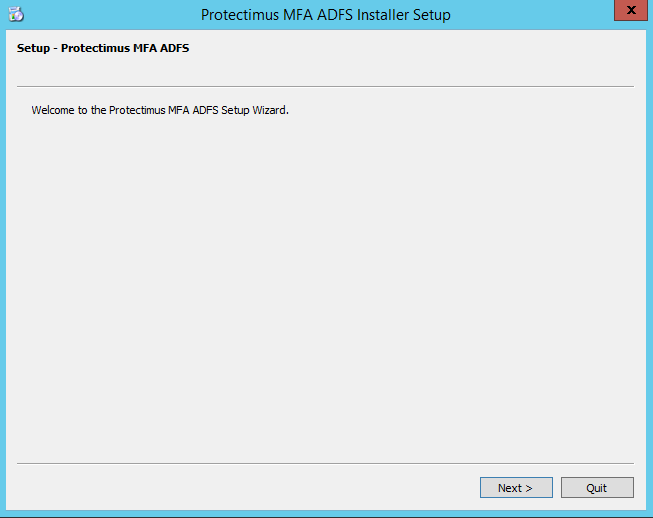
- You will see a welcome screen, click Next to continue.
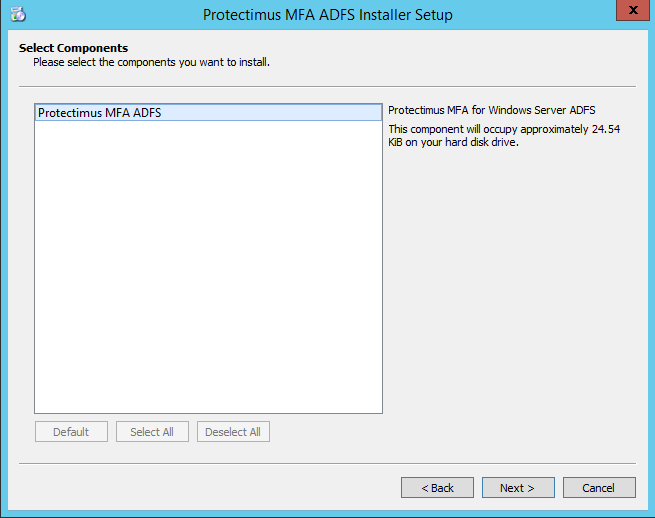
- On this page, select Protectimus MFA ADFS and click Next.
- On this screen, you will need to enter the API URL, Login, API Key, and Resource ID. These parameters stand for:
- API URL – an address of the API endpoint. If you use SAAS Service API URL is https://api.protectimus.com. In the case of the on-premise Platform, API URL is a server address, where the Platform is running.
- API Login – the login of your account, the same as for signing in.
- API Key – you’ll find it in your profile. To access a profile, click the user’s login in the top right corner of the interface, and choose the “Profile” entry from the drop-down list.
- Resource ID – After creating the resource, you’ll be taken to a page with a list of available resources, where you can see the resource you’ve just created. In addition, the ID of the resource will be displayed in the table.

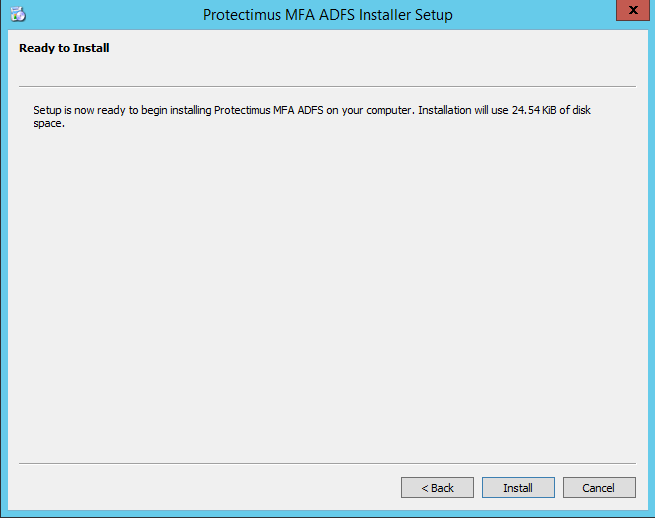
- Everything is ready for installation, click Install. During the installation, the ADFS service will be restarted.
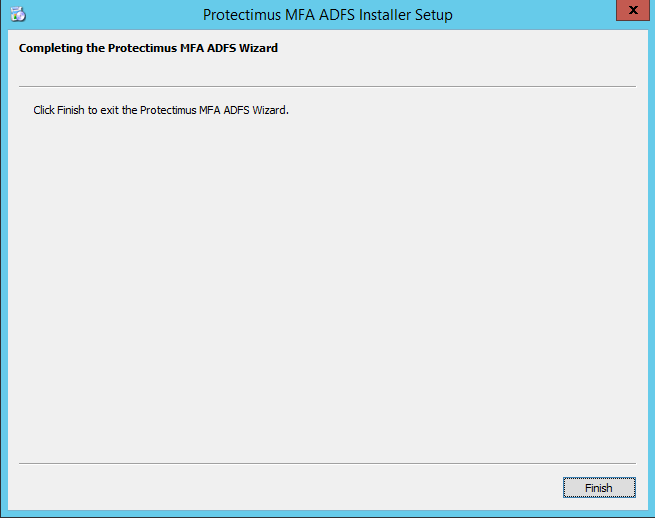
- When the installation is completed, click Finish.
3. Configure ADFS Multi-Factor Authentication
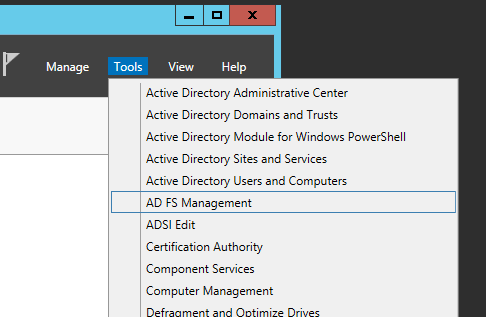
- Run the ADFS configuration console: Server Manager -> Tools -> AD FS Management
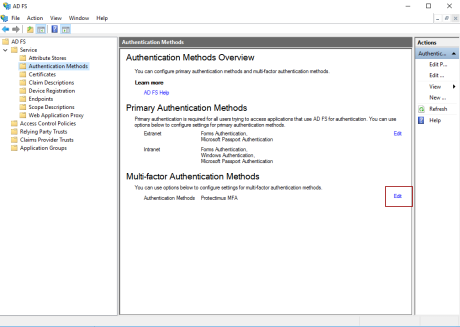
- Navigate to Multi-Factor Authentication settings: Service -> Authentication methods -> Multi-Factor Authentication methods -> Edit
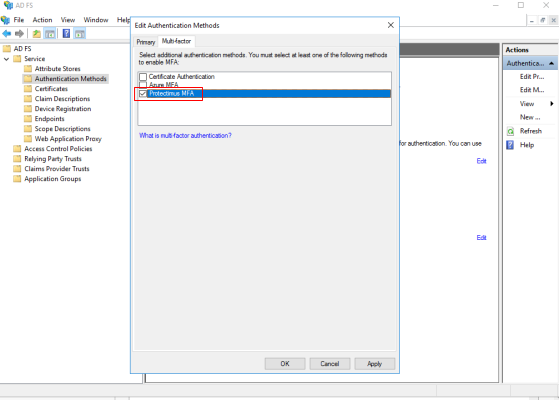
- Choose Protectimus MFA.
- Navigate to Access Control Policies.
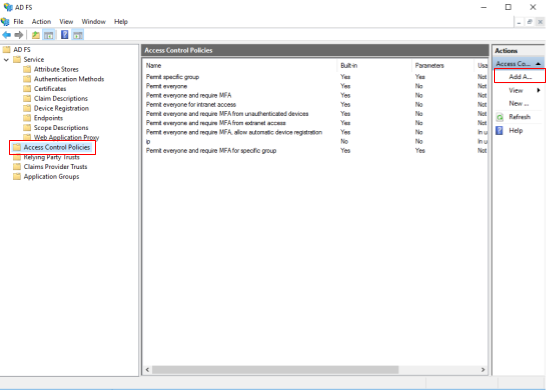
- Add Access Control Policy.
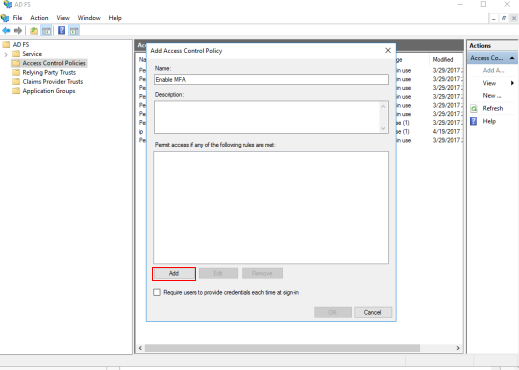
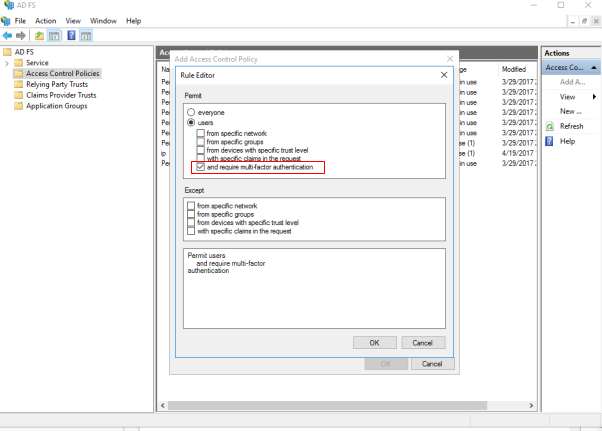
- Tick the checkbox “require MFA” and setup specific networks, users groups, etc.
- Navigate to Relying Party Trust and choose Relying Party Trust where you want to add Protectimus MFA.
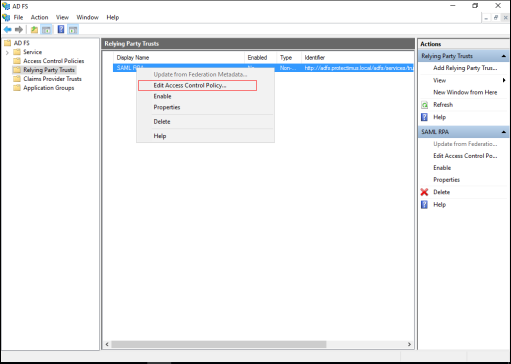
- Choose the Access Control Policy which was added on the 5th step.
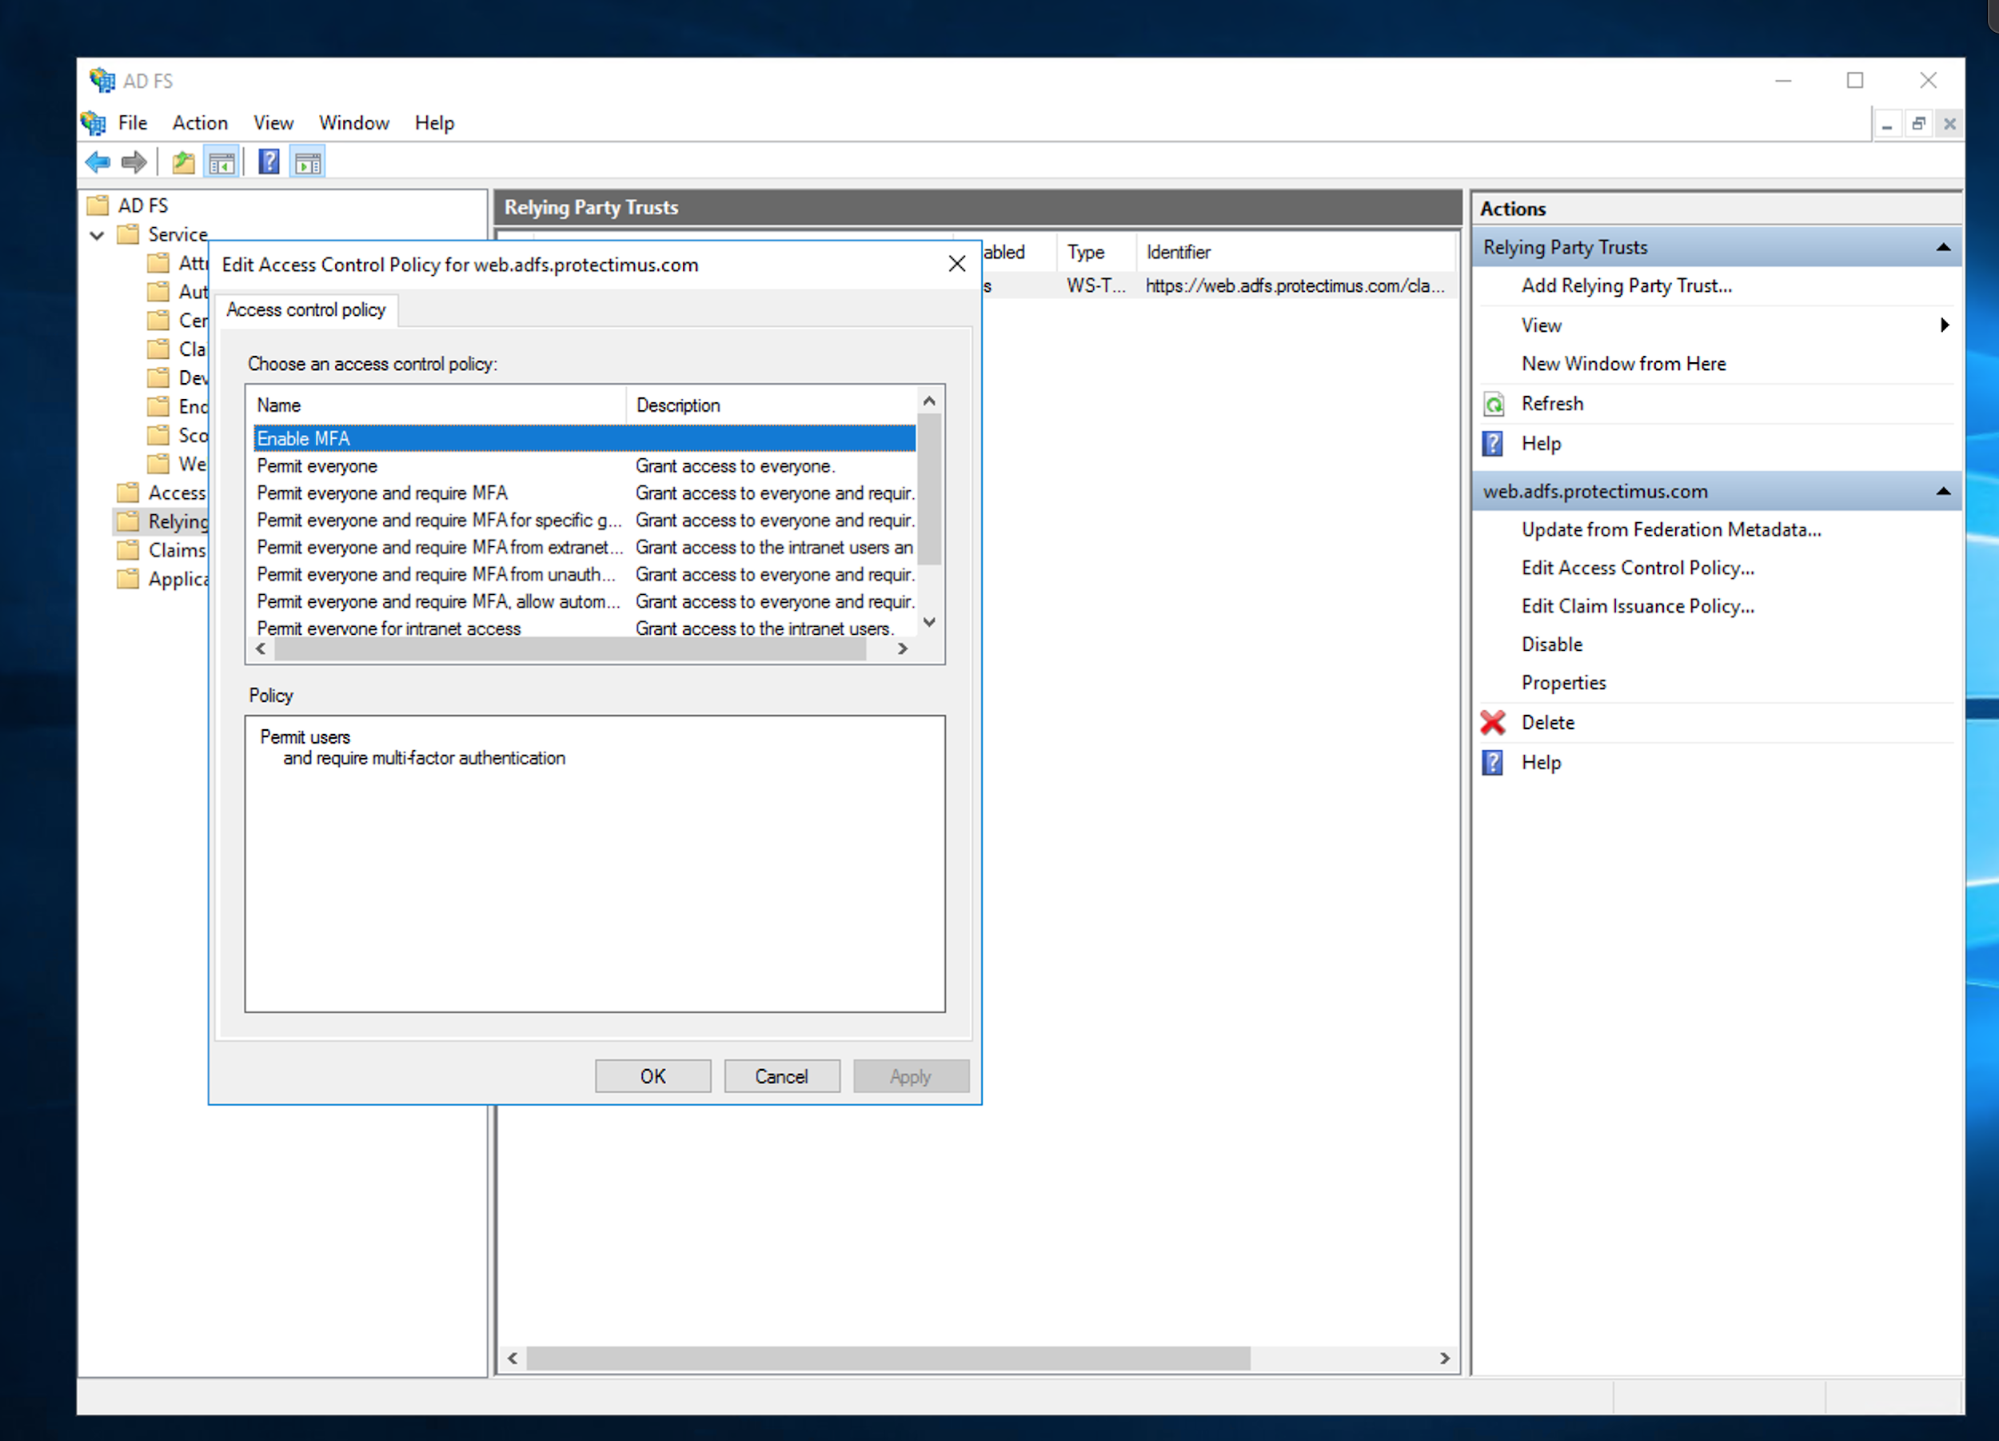
- Setting Protectimus MFA for ADFS is completed. You can read more about Access Control Policies here.
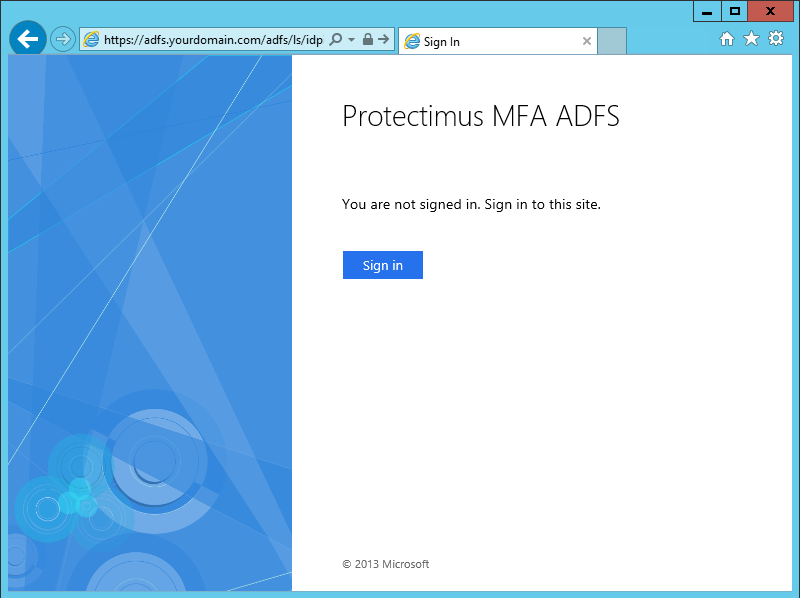
4. Check the correctness of the installation and settings
- For verification, go to: https://adfs.yourdomain.com/adfs/ls/idpinitiatedsignon.aspx
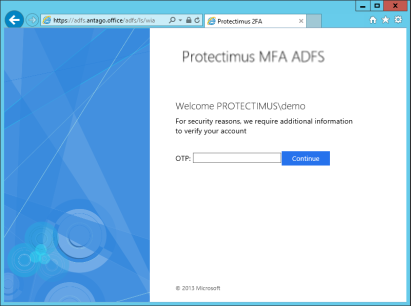
- At the second stage of authentication, enter your one-time password.
- In case ADFS user is not in “Administrators” group you may get the following error message:
 To fix this error execute the next command in the PowerShell with administrative privileges:
eventcreate /ID 1 /L APPLICATION /T INFORMATION /SO "Protectimus MFA ADFS" /D "Init"
Last updated on 2025-03-15